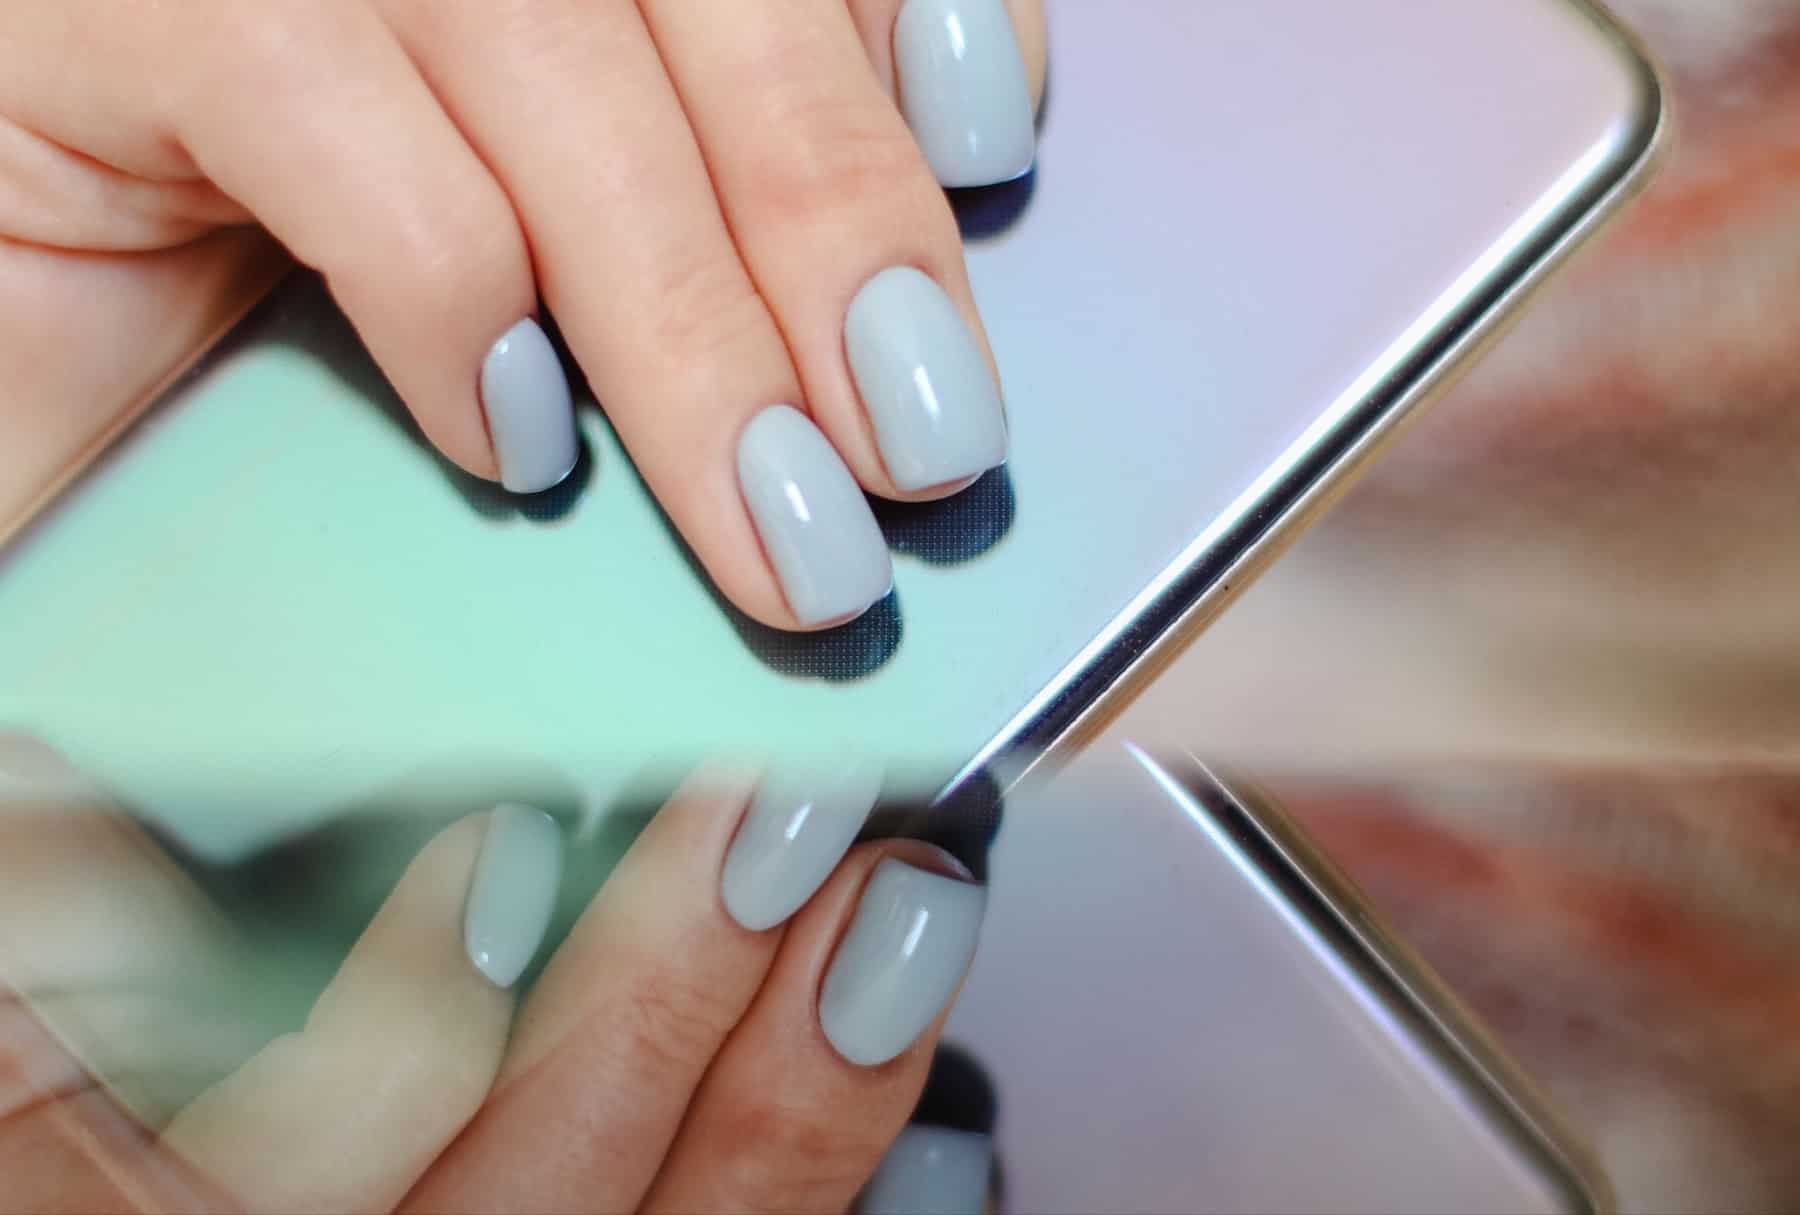
What Are Dip Nails? Should I Try Them?
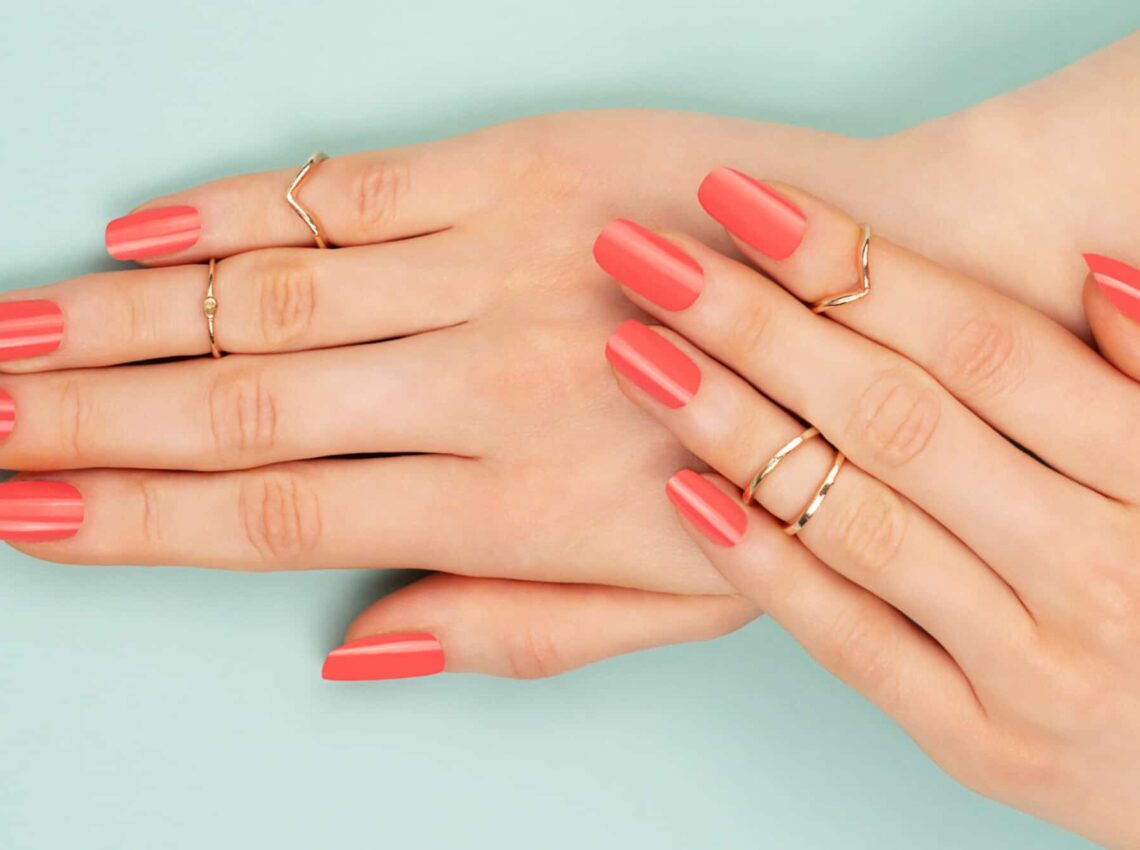
Dip nails are achieved by dipping or brushing dip powder onto the nail, applying several coats to seal the color, and letting it air dry. No UV or LED light curing required. They dry much quicker and can last longer than gel and acrylics. Some nail Pros say dip nails bring the best of gel and acrylics into a single manicure.
Although you may have recently seen these nails pop up on your feed, dip nails have been around for decades. Nail company SNS invented the dip nail system, so many people refer to these as SNS nails. Today, numerous companies also create dip powder, like OPI and Kiara Sky.
Still not sure if dip nails are for you? Dive into our guide to learn more about dip nails, how they work, and everything else you should know before you book your first dip nail appointment.
How does dip powder work?
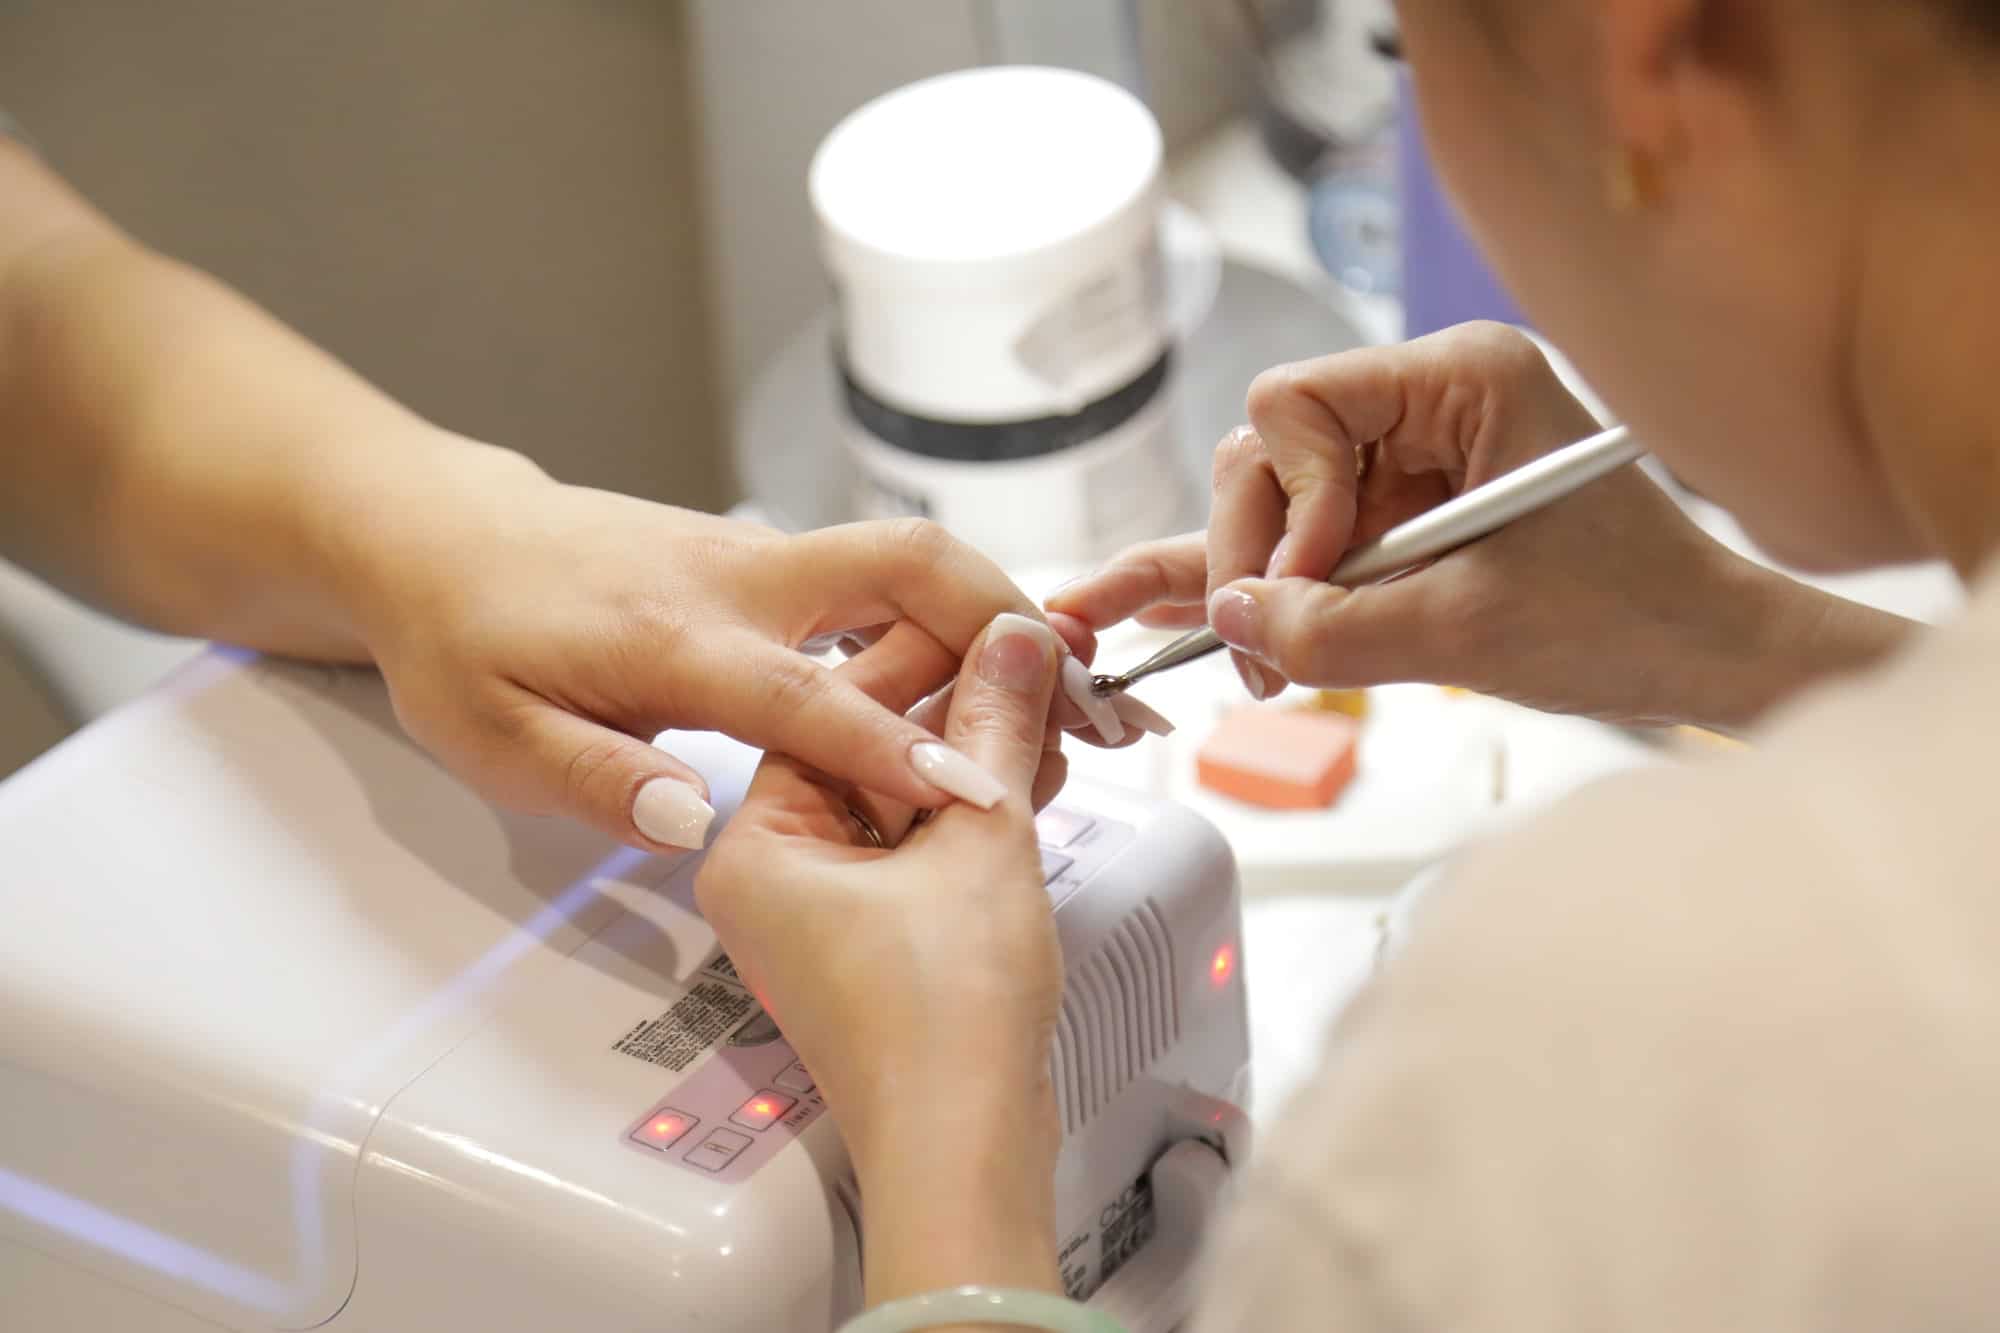
Dip powder nails are applied by prepping the nails, applying the bonder and base, dusting the color on the nail, shaping your nail, and applying the topcoat. Everyone’s process differs, but you can expect your nail tech to follow these general steps at the salon. We go over each of these steps in more detail below.
- Step 1: Prep the nails by cleaning, buffing, and clipping them along with pushing back your cuticles. Nails should fully dry before moving on to the next step.
- Step 2: Apply bonder and a base coat to help the powder adhere to your nail.
- Step 3: Dip or dust nails with powder while the base is wet and shake off excess. Certain styles and nail lengths may require a few extra dips.
- Step 4: Let your nail air dry for a few minutes before the next step.
- Step 5: Apply the activator to let the product harden. This should dry as well before moving on to the next step.
- Step 6: Shape and file nails as desired.
- Step 7: Apply the topcoat to protect your nail and help the color last longer.
In the market for some extensions? Luckily, you can also use dip powder for nail extensions. Your nail tech will simply add nail tips to your natural nail and follow the same process to apply the color.
Take caution with dip powder
Applying dip nails the right way, unfortunately, leads to lots of tossed product. Some nail techs cut corners in an effort to waste less dip powder.
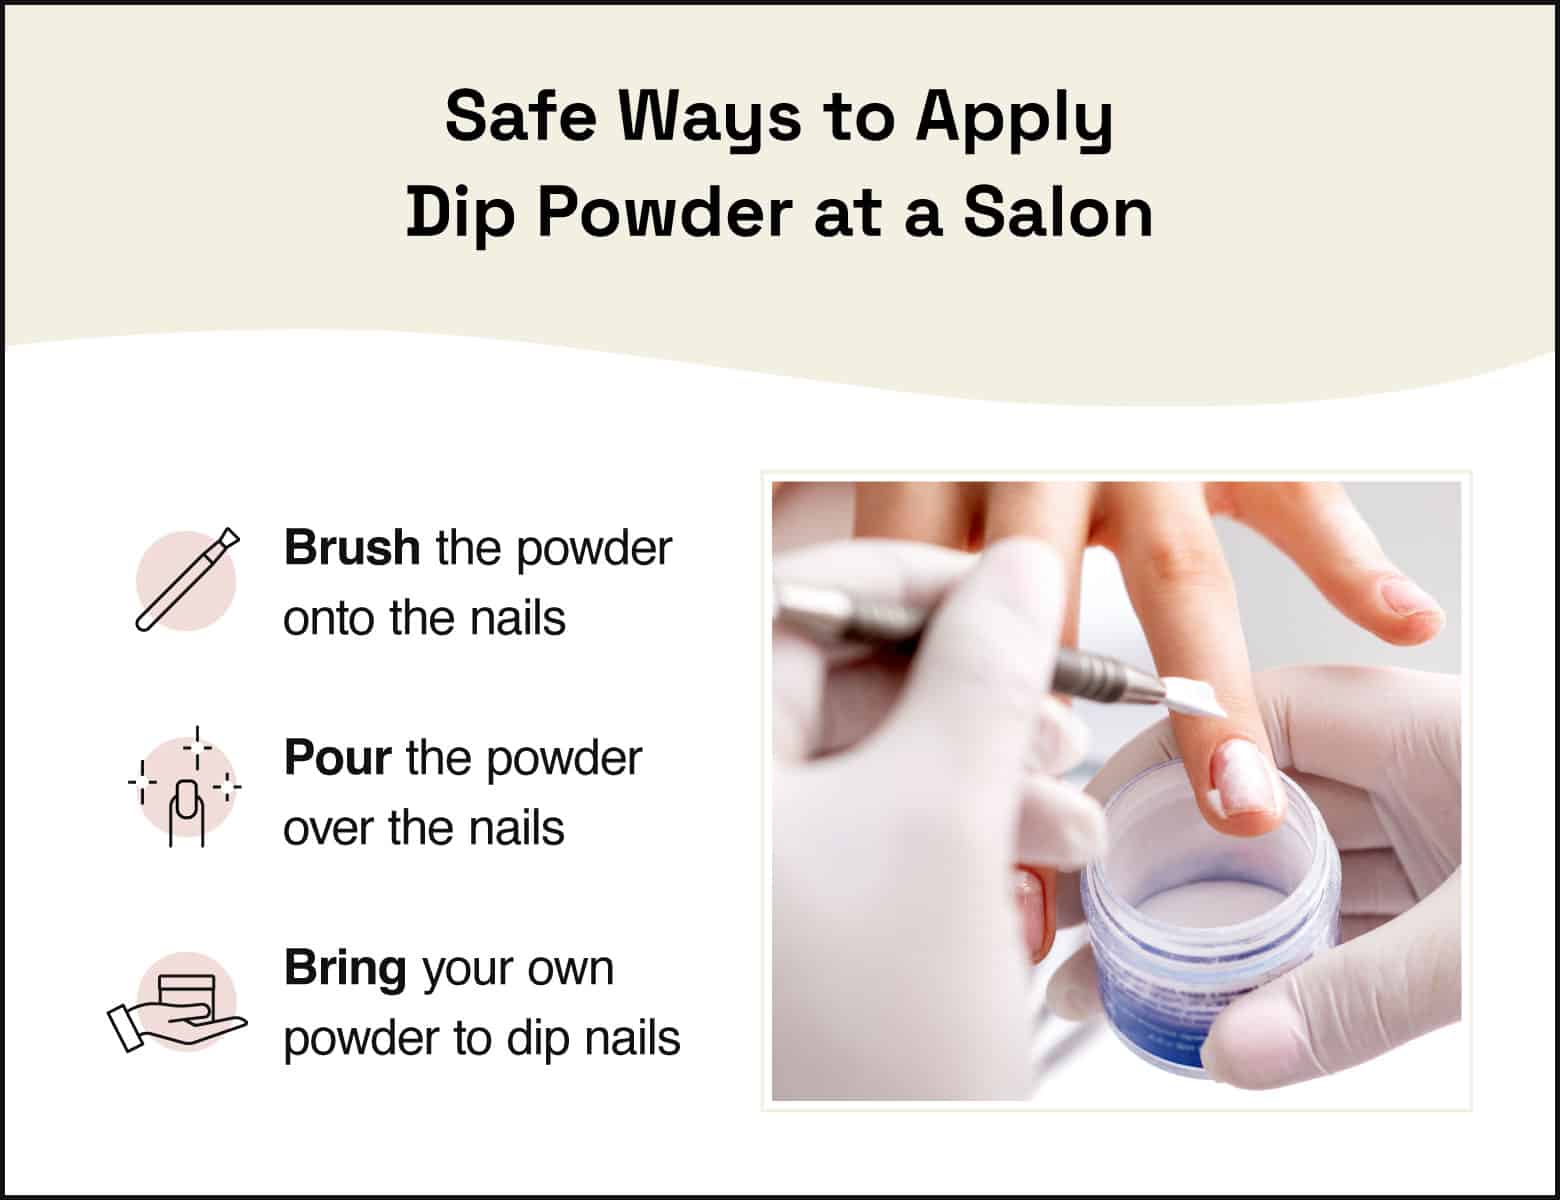
Walk away if your nail tech tries to dip your nail directly into their main pot of powder. You put yourself at risk for infection if they’ve dipped their other clients’ hands into the powder.
There are a few safe alternatives to apply the powder. For example, your nail tech can put the powder in a disposable cup, dip your nail in that, and throw away the excess.
Alternatively, they can brush or dust the powder on your nail so you don’t come in contact with the pot. This method is not safe, however, if the nail tech tries to save the excess powder instead of throwing it away. You can also bring your own dip powder to the salon if you want to be extra safe.
How much are dip nails?
Dip powder nails can cost between $35 and $50 depending on where you go, your nail artist’s tip, and the style you get. You should compare the benefits of costs of different types of manicures to make sure you’re getting the value that you want.
However, price isn’t the only factor to consider when researching salons and nail techs. This service isn’t commonly offered at salons due to sanitation concerns. If you don’t already have a recommended nail artist, do your research to find one near you.
What are the benefits of dip powder nails?
Dip powder nails are a great option since they’re more durable and quicker to apply than other types of manicures. These are the main benefits of getting dip nails:
- Many colors are available so you can continue getting fab styles without color limitations.
- No curing with UV or LED lights is required, so you can be in and out of the salon faster than with other types of nails. You also avoid potentially harmful UV light exposure with this method.
- They are long-lasting and more durable than other manicures.
- The application process is quick with short dry times.
What are the disadvantages of dip powder nails?
The main disadvantage of these types of nails come from improper application and removal. Sanitary and health issues also come into play if your nail tech uses unsafe methods. Luckily, most drawbacks are avoidable as long as you do your homework before going to the salon. These are the dip nail disadvantages you should be aware of:
- They are potentially unsanitary if your nail tech dips multiple customers’ nails into their powder.
- They can be thicker than other manicures if the excess powder isn’t removed.
- Allergic reactions can happen with the powder based on the formula. Look up the ingredients and consult your doctor if you have any concerns.
- Removal can result in damage since you may need to use an e-file.
In light of the pandemic and the cleanliness needed for this service, don’t hesitate to ask your nail artist about their safety guidelines and sanitary measures. It’s better to be a little extra cautious than to put your nails and overall health at risk.
How do dip nails compare to other types of manicures?
Dip nails mainly differ from other types of manicures because of the method used to apply the color. Beyond that, applications can generally follow the same steps since you’ll always apply a few coats to seal in the color. We break down some common types of manicures below so you can understand the differences between dip and other popular types.
Dip vs. gel nails
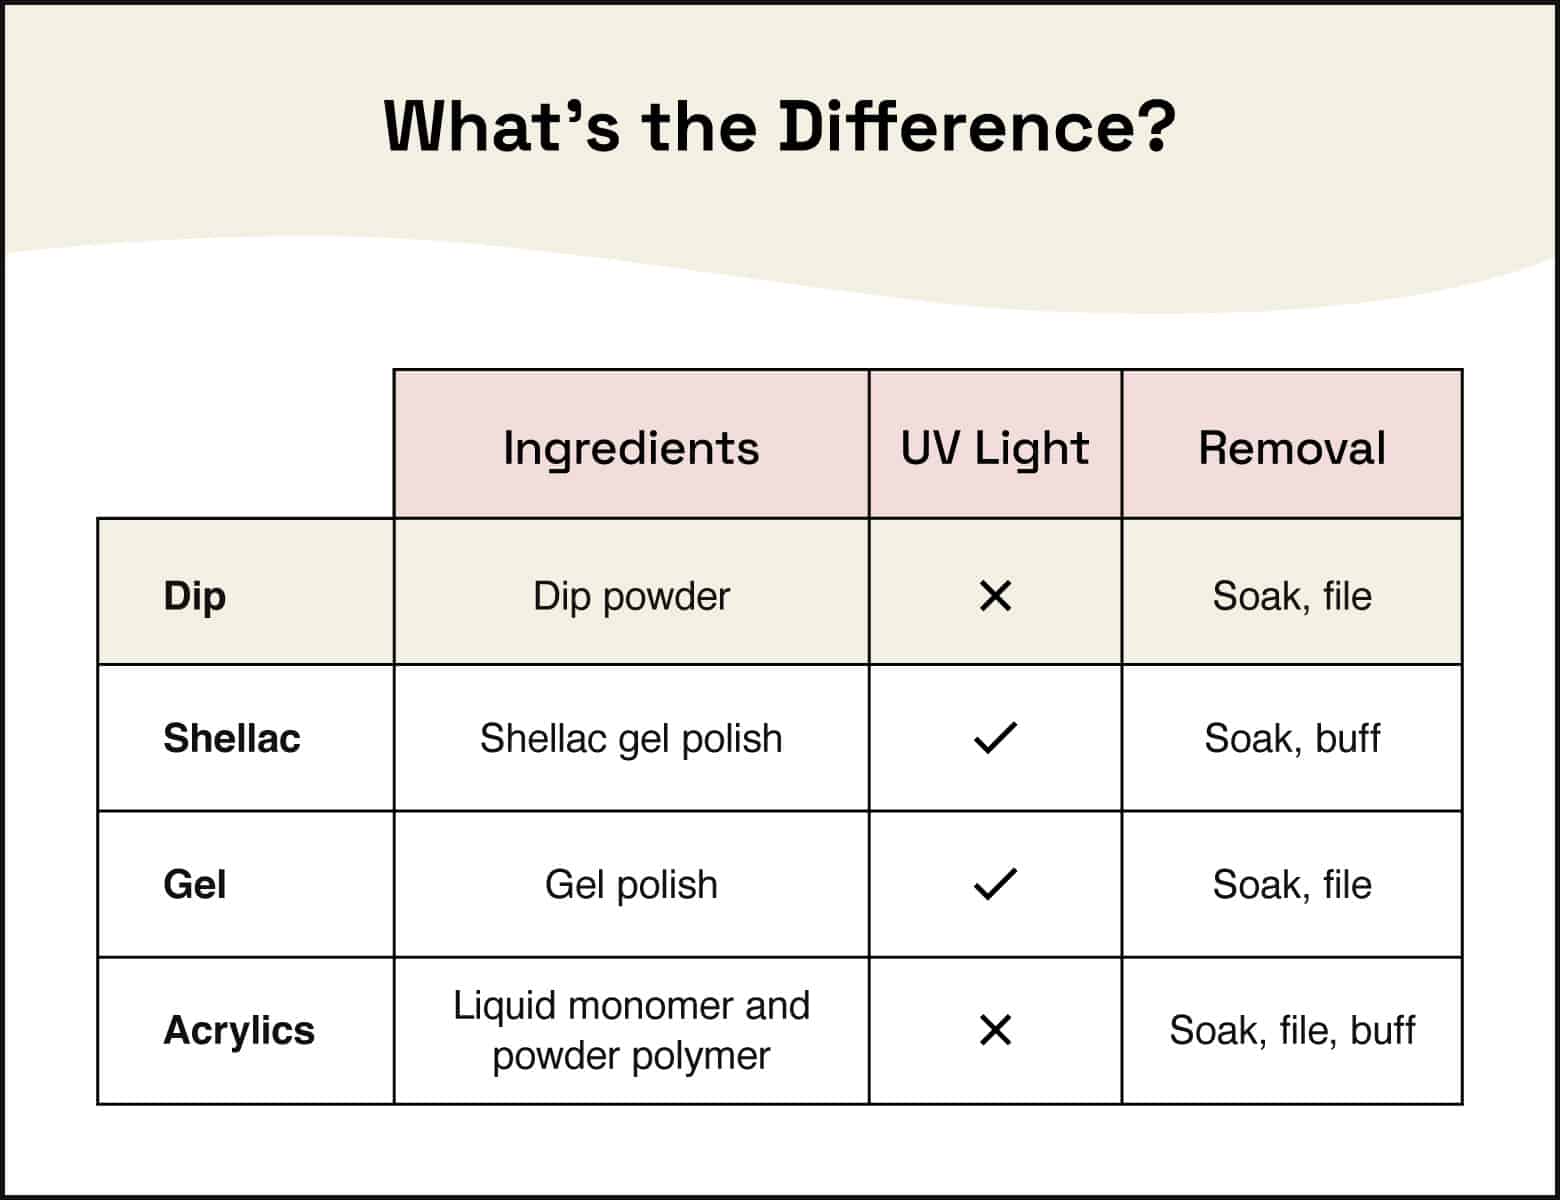
Gel nails are applied with similar steps, but use gel polish instead of powder. They also require curing with a UV or LED light. These nails look more natural than dip and typically last a couple weeks.
Removal is similar for both. You’ll soak your nails in acetone to remove gel nails. If you have hard gel nails, then you’ll need to see a nail tech to file them down before you soak them. Gel nail prices range from $25 to $65.
Dip vs. Shellac nails
Shellac nails refer to manicures that use Shellac polish made by CND. It’s a polish and gel combo that’s durable and easy to take off. Like gel nails, they’re cured under a UV light.
Some nail techs say they’re doing Shellac manicures when they’re simply talking about gel manicures. You’ll need to double-check what type of polish they’re using to make sure you’re getting the manicure you want.
To remove Shellac nails, you’ll simply need to buff and soak them.
Dip vs. acrylics
Acrylic nails are applied with a mix of liquid monomer and powder polymer. They’re hard and more likely to chip since they’re not flexible, but they don’t require a lamp to cure them.
Dip nail extensions are lighter than acrylic extensions. This makes dip more durable than acrylic extensions. However, acrylics are generally a better choice if you want really long nails.
Acrylics take extra effort to remove and typically require soaking, filing, and buffing. Dip may or may not need filing depending on how your nail tech applied the polish.
How long do dip nails last
Dip nails can last from two to six weeks depending on how well you care for them and how well your nail tech applied them. Taking care of your nails can stretch their lifetime out a little longer. We’ll cover how you can do that in the next section.
How can I make dip nails last longer?
Proper application is the key to making dip nails last a long time. Familiarizing yourself with the dip nail process is one way to ensure you’re getting it done right.
For example, prepping your nails before the manicure removes excess oils and ensures the powder adheres to the nail. This isn’t a step your nail tech should skip for this or any other manicure.
The way each coat is applied also makes a difference. Properly applying the coats, powder, and other products to the nail only ensures they’ll last longer and prevents lifting. Keep an eye on your nails so that your nail tech isn’t applying too much or too little of each product. You can also look up reviews and ask them for photos so you can have an idea of what the final product looks like.
Using a reputable dip powder brand can also make your dip nails more durable. Premium brands are more likely to withstand everyday wear and tear than cheap ones.
After it’s applied, you can follow the steps you’d take to protect your nails after any manicure. When using harsh household cleaners or chemicals, wear gloves to protect your hands and nails.
You should also see your nail tech ASAP if your nails start to chip or break. Letting it stay broken will make it worse and can damage your natural nail. If you can’t make it to your nail tech right away, you can try some DIY hacks at home to temporarily fix your broken nail.
How can I remove dip powder nails?
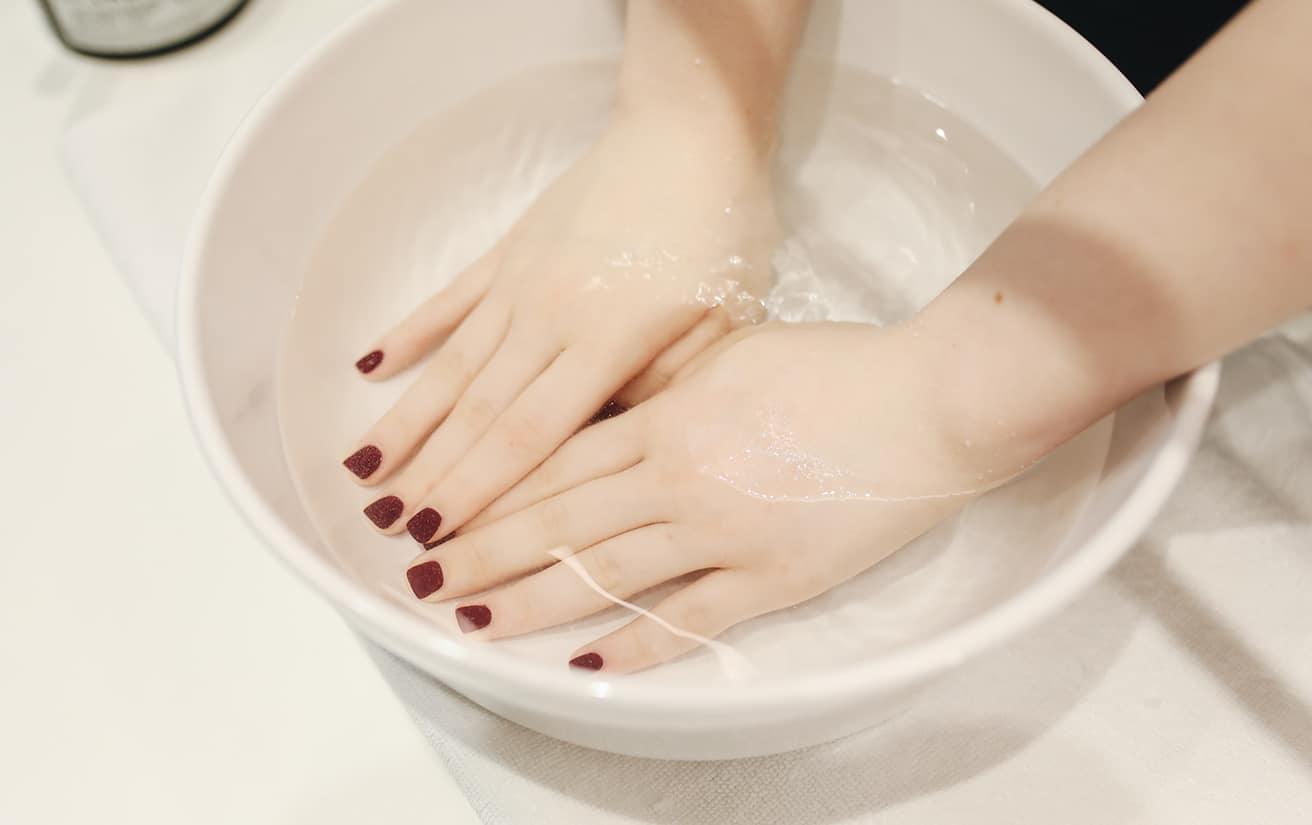
You typically use a file to buff down the polish and soak off the color afterward using pure acetone. When removing manicures with acetone, it’s safest to use acetone-soaked cotton balls so only your nail comes in contact with it. Cut the cotton balls down to the size of your nails and apply petroleum jelly around your nails to minimize contact with your skin.
After your nails have soaked for about 10 minutes, you should be able to gently wipe off the dip color. Don’t pick at it or forcibly peel it off. We recommend getting dip powder nails removed professionally to avoid long-term damage, especially since dip powder is tougher to remove than other types of manicures.
Some nail techs use e-files to remove the color instead of a regular file. Unless you’re confident in using an e-file, leave this tool to the Pros. Your nails will thank you and you’ll lower your risk of damaging your natural nails.
Your nails will need some TLC after the dip is removed. Pick up some cuticle oil to nourish your nails and replenish the lost moisture. Regularly moisturizing your hands with hand cream can also help. You can go a step further by booking nail strengthening services at your favorite salon or finding a safe DIY nail strengthening kit to use at home.
Can you do dip powder nails at home?
Dip powder nails are simple enough to do at home and there are many affordable kits available for purchase. However, we recommend going to a Pro first to at least see how it’s done and to get your questions answered. Removal is also best handled by a Pro.
Is dip powder bad for your nails?
Dip powder is safe for your nails as long as the application is sanitary, you go to a reputable salon, and you keep an eye on your nails’ health while they’re on and after they’re removed.
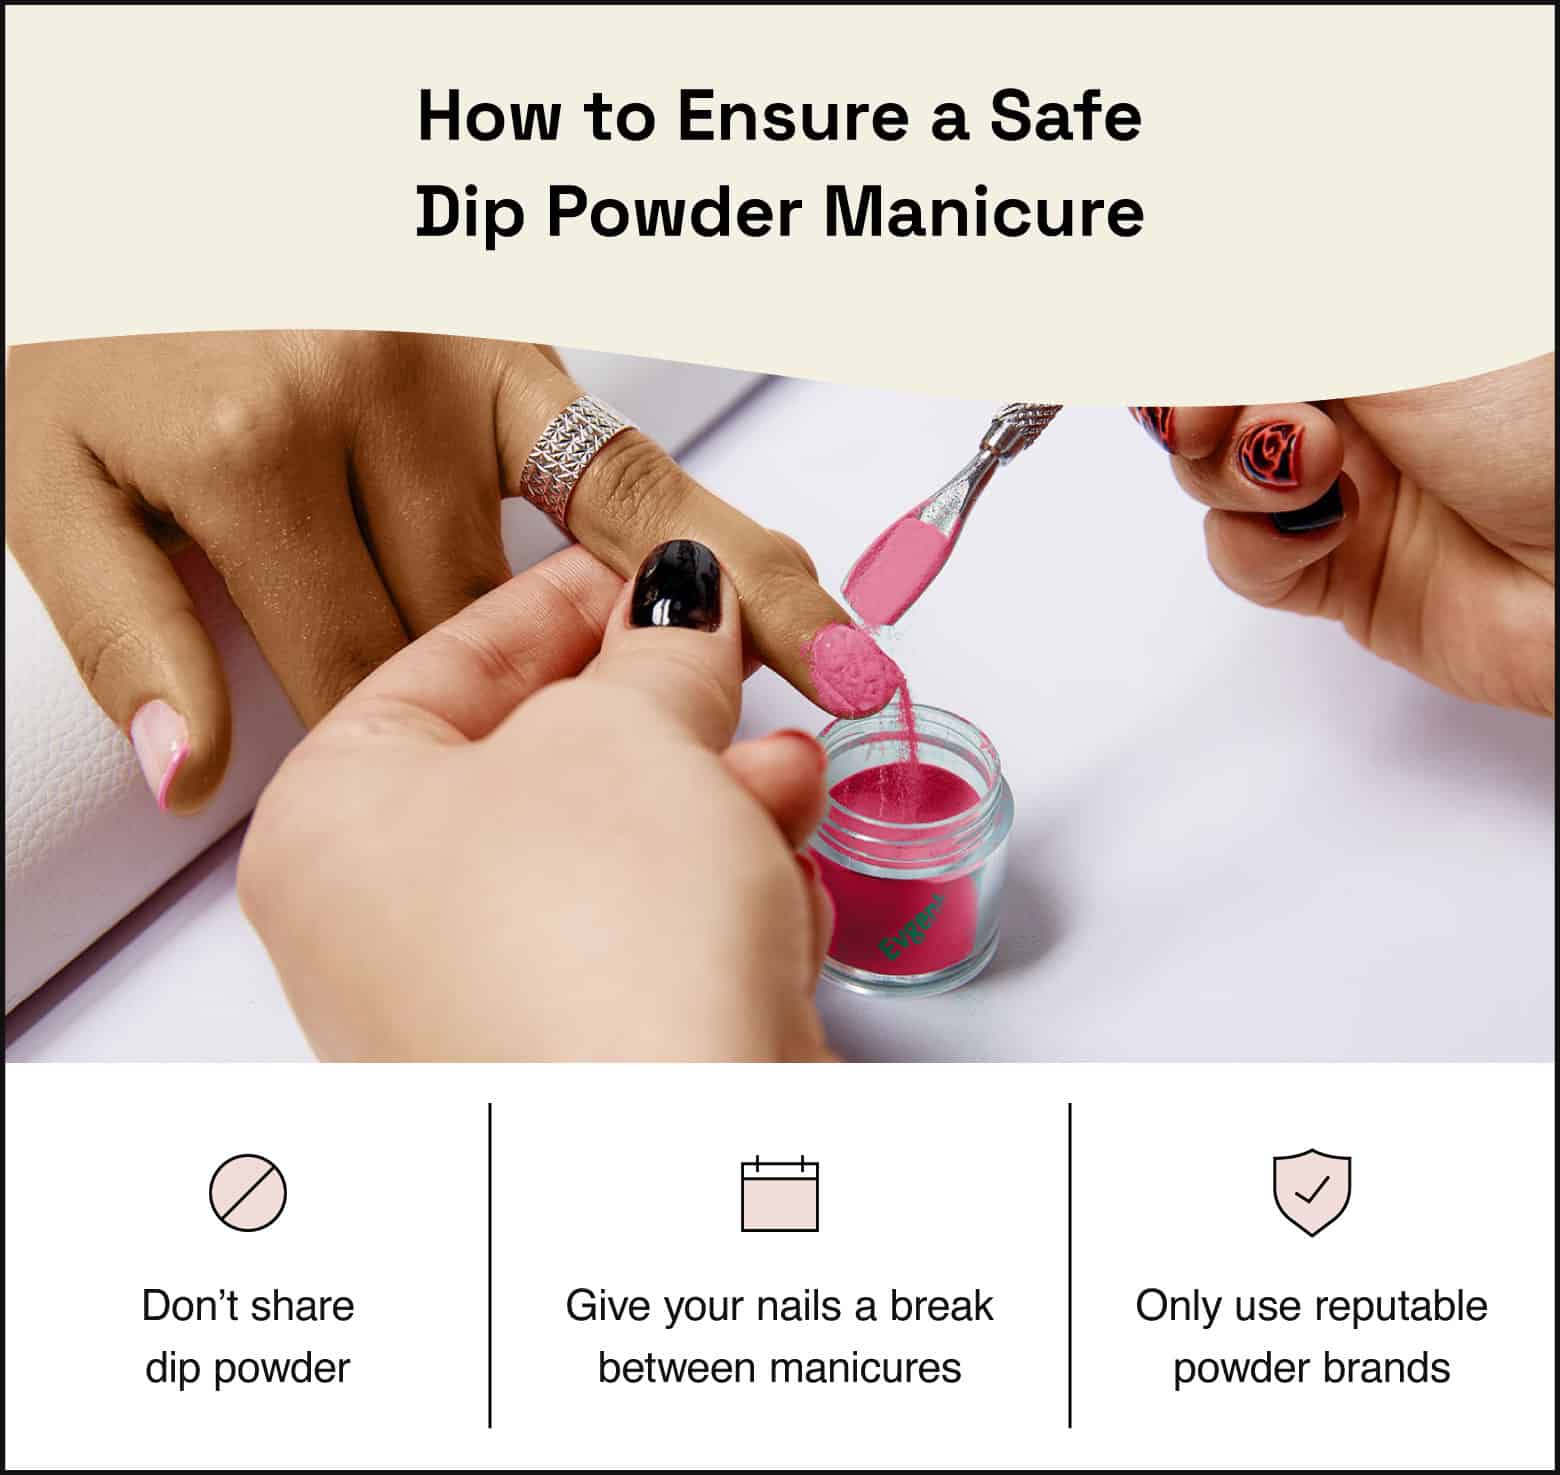
It’s easy to stop your nail artist from dipping your nails directly into a communally used powder pot. It’s not as easy to tell if they’re using cheap or unsafe powders. Ask ahead of time about the brands and ingredients used so you can do some digging. A little bit of research can help you avoid a potentially unsafe manicure.
This same rule applies at home. If you’re DIYing your nails, don’t share your powder with anyone else, and don’t settle for cheap powder. Carefully follow directions in your DIY kit and any tips from your nail tech to avoid harming your skin or nails.
Dip nails — along with any other manicure — can also harm your nails if you continue getting them while your nails are chipping. Give your nails a break every once in a while, especially if they’re visibly chipped or cracked. Focus on keeping them nourished before you get your next set.
Should I try dip nails?
Dip nails are worth a try if you want a manicure that’s stronger and more durable than gel or acrylics. Many also try out these nails if they’re trying to limit their exposure to UV lights.
The aftercare, thicker look, and sanitary concerns are the main factors that turn some people off from dip nails. If you don’t mind those things and can commit some time to finding a safe nail tech, then there’s no reason not to get them.
It’s especially important to do your research before you book a dip nail appointment. Don’t neglect reviews for both nail techs and for the various dip powder brands out there. Taking these extra steps beforehand helps you make sure you’re getting a safe manicure. You can look through our community of nail artists if you’re ready to find someone near you.
