What Are Box Braids? Your Complete Guide
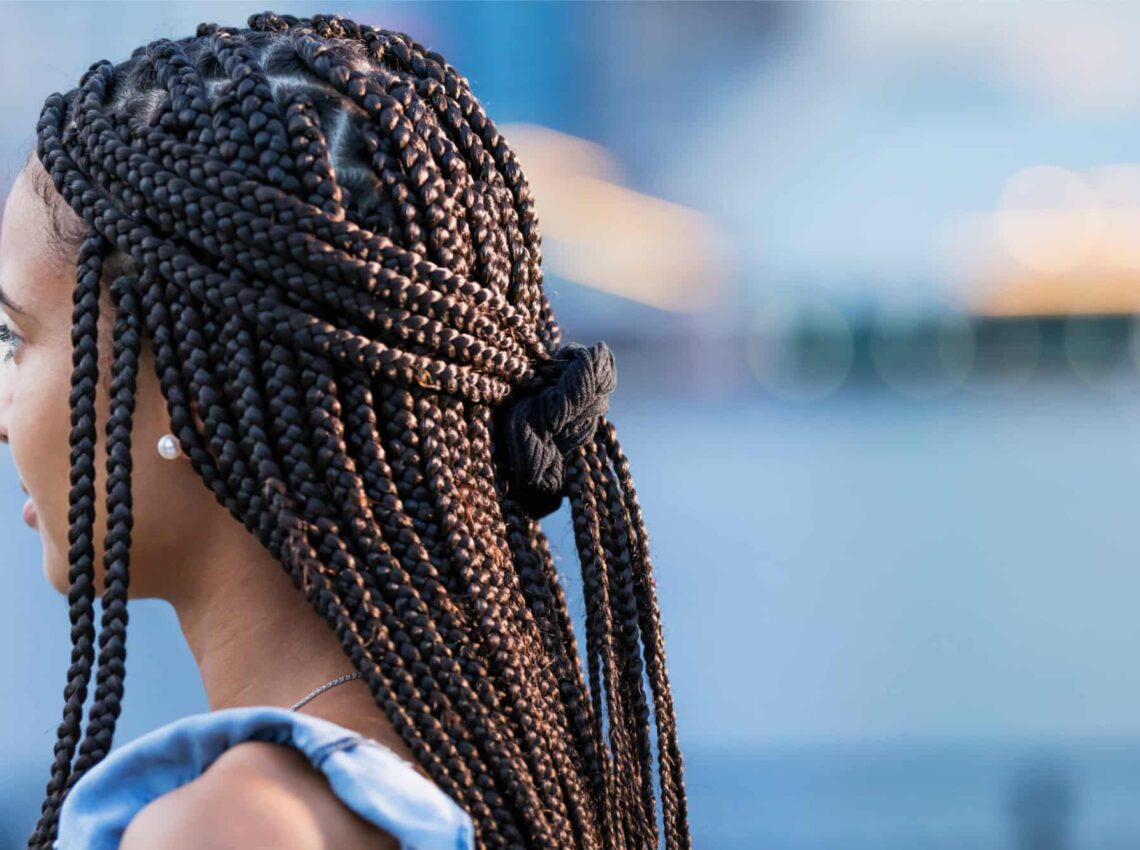
Box braids are three-stranded braids with square-shaped parts. Since they’re typically braided all the way down, you can let them hang loose or put them up in different styles. Many people use braiding hair to achieve more length. Box braids have been a go-to protective style for many, and have lots of history behind them. They’re also a great braid choice for curly hair.
Hair braiding as a whole can be traced back thousands of years to Africa. Braids signified status sand helped differentiate tribes. Many braids you see today, including box braids, originated from Africa. Janet Jackson is commonly credited for the recent popularization of box braids thanks to her 1993 film Poetic Justice.
Box braids have remained popular over the years since they’re easily styled and customized. Color, size, extensions, lengths, you name it — there’s a way to do it with box braids. You can even incorporate curls and accessories to personalize them even more.
Today, we’re going to go over everything you need to know about getting box braids. We’re covering everything from ways to prep your hair to post-installation care tips. Read on to learn everything there is to know about box braids before you book your next appointment.
How can I prep my hair for box braids?
You can prep your hair by nourishing it and keeping it as healthy as possible. Spending the time to prep your hair before getting braids ensures that your hair will stay healthy and smooth while they’re installed.
Prepping your hair also makes it easier on your braider and can cut down on installation time. You can get some prep done at the salon if your braider offers these services.
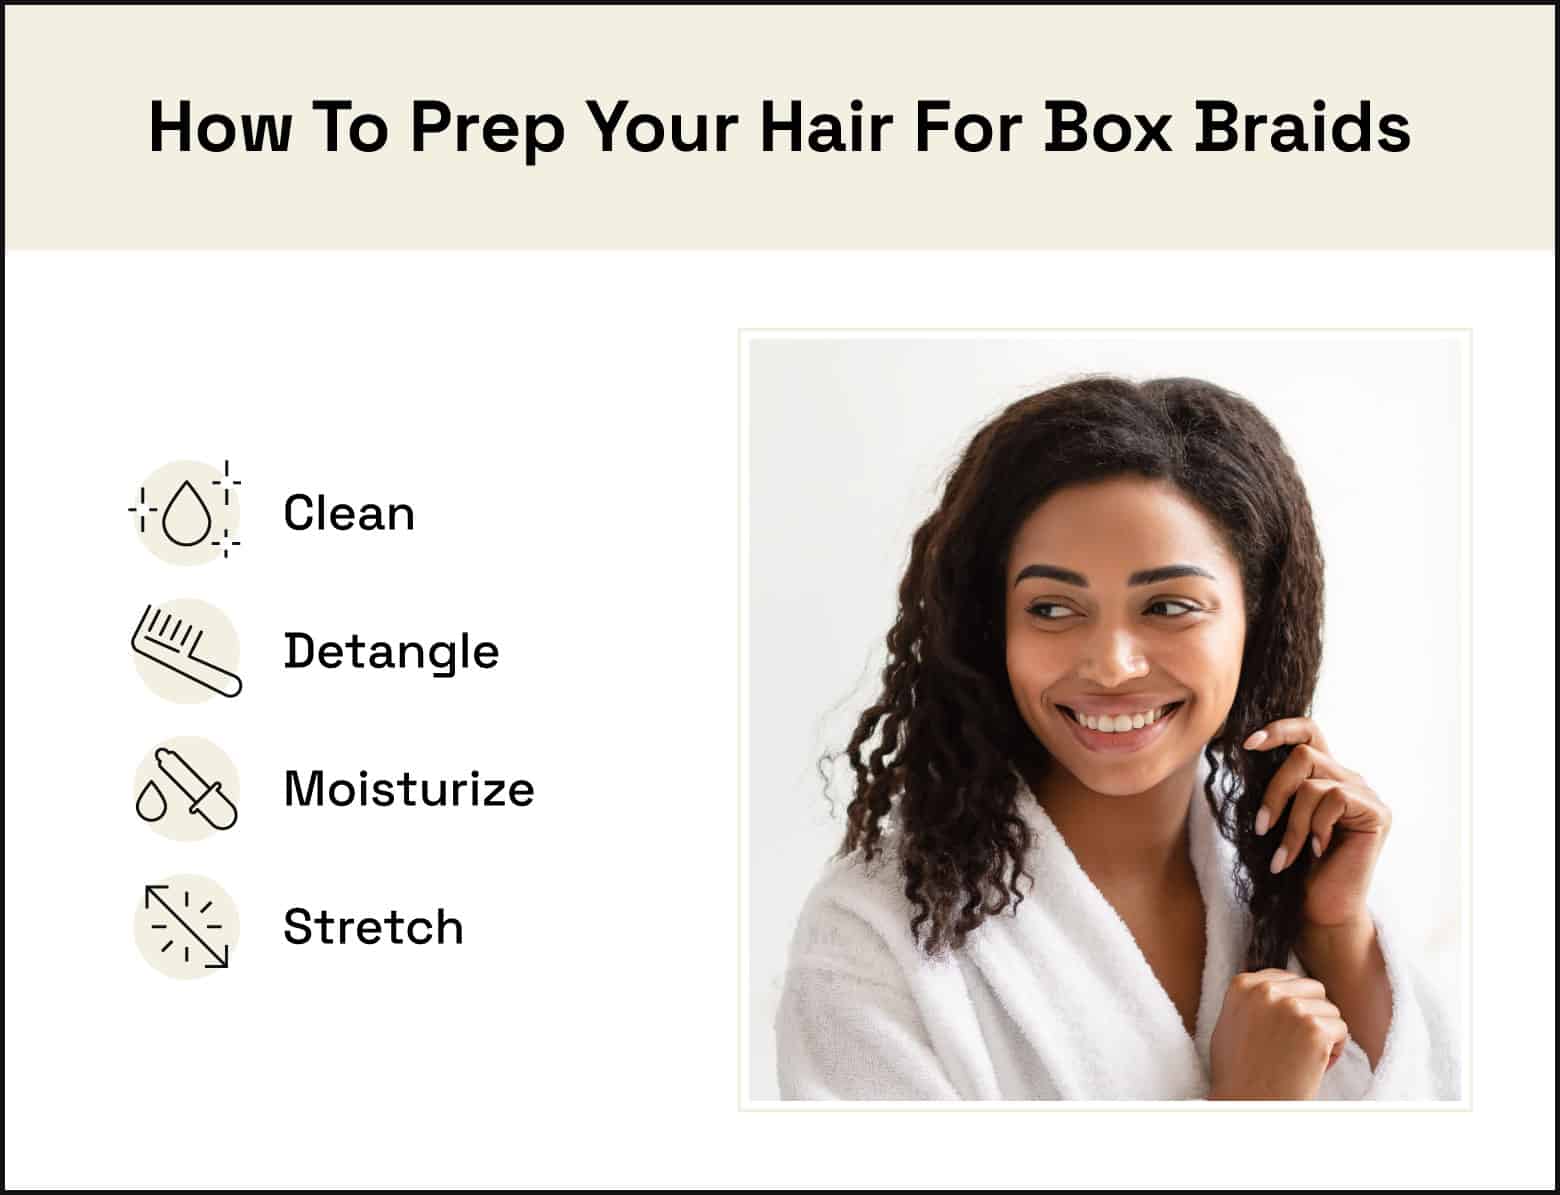
Below are just a few steps you can take to prepare your hair for box braids:
- Nourish and clean your hair with clarifying shampoo and deep conditioner to help your braids look smooth.
- Detangle your hair to prevent breakage and for an easier installation.
- Trim split ends to keep your braids neat and smooth.
- Blow dry or stretch your natural hair to make installation quicker and easier for your braider.
It’s also a good idea to bring inspiration photos to help your braider visualize the look you want. Don’t forget to write down any concerns you have, like if you have a sensitive scalp or if your hair is damaged. Understanding and communicating your needs can better prepare your braider to work with your hair.
How do you install box braids?
Installing box braids involves cleansing and moisturizing hair, prepping and parting your hair, braiding your hair down, and sealing your ends. We’ll go over the basic steps you can expect to go through, whether you’re doing it yourself or going to an expert braider.
Prep your hair
Follow the steps from the previous section to prep, clean, and moisturize your hair. You’ll start this process after your hair is dry. You should also pre-wash your braiding hair if you’re using extensions. We recommend getting pre-stretched hair so you don’t have to spend time stretching it yourself.
Part your hair
Once dry, you’ll part your hair into four even parts. Use a rat tail comb to make your parts precise. Then you’ll tie or clip three of the sections so they’re out of the way.
In your first section, part it a few more times to create the section for your first braid. The size of your parts depends on how large you want your braids. We’ll go over the differences between braid sizes later in the guide.
Add more product (if you’d like)
After you have your first section, you can apply oil to your hair to give it some slip and extra moisture. You can also use hair gel along your roots for a sleeker look.
The next steps will vary depending on whether or not you’re using extensions.
Braid
If you’re not using extensions, take three strands of hair and begin braiding them into a three-stranded plait.
If you are using extensions, you’ll first start by taking one of the hair bundles and separating it completely into three separate pieces. Then, take one of the pieces you just created and hold it from the center. It should look like an upside-down “U” with two strands hanging down.
Separate one section of hair from the side of the bundle and move it so it hangs over the middle. You should now have three separate strands hanging down from your bundle.
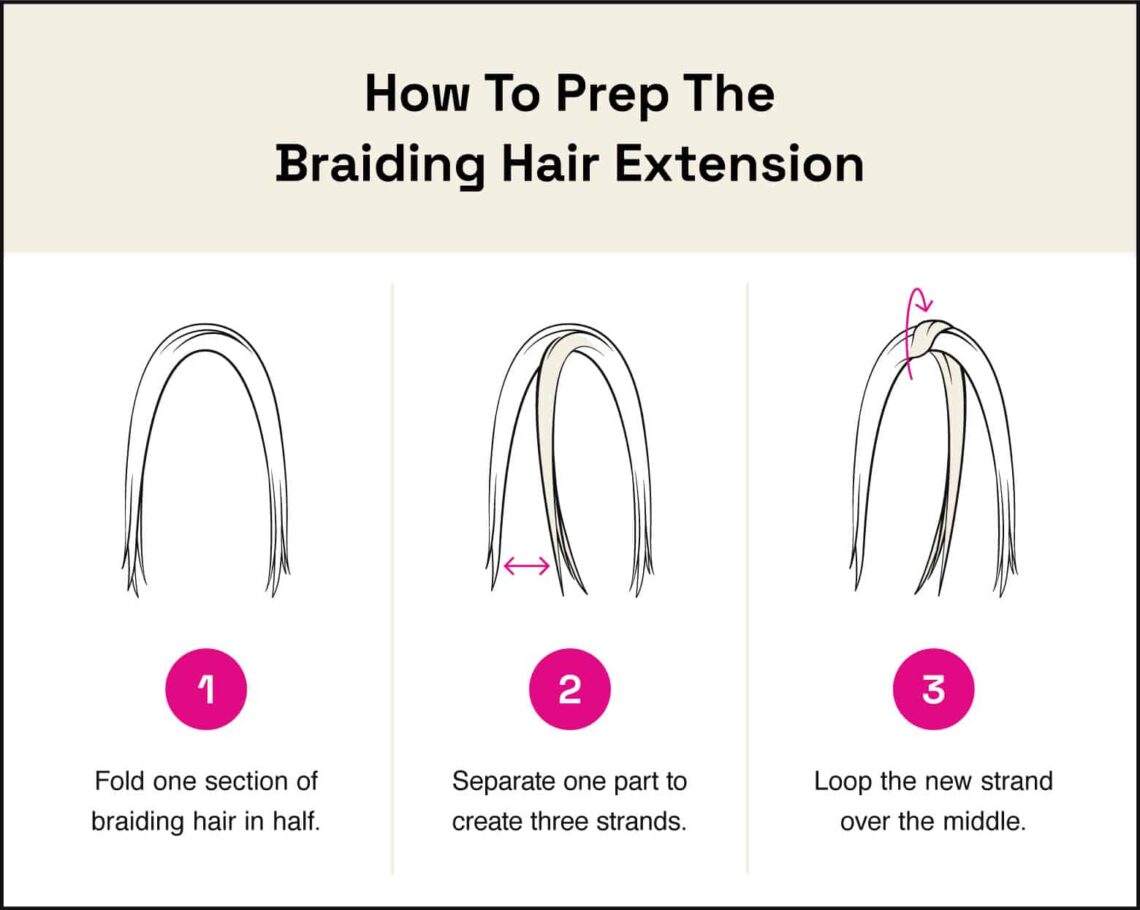
After that, combine the middle braiding hair strand with your natural hair. You’ll start braiding a three-stranded plait with the combined strand and the other two strands of braiding hair. You can tie off the end with a rubber band if needed.
Regardless if you’re using extensions, you should brush your edges out as you go so you can go back and lay them when you’re done. Repeat all of these steps to braid the rest of your hair.
Seal your ends and clean up your braids
Once you’re done braiding, seal the end of each braid by dipping it in boiling hot water. You can apply mousse or other hair products to your braids if you want to ensure they look smooth. Now that you’ve finished braiding, this is also the time to lay down your edges.
How long do box braids take to install?
Box braid installation can take about four to eight hours depending on your style, the size of your braids, the skill of your braider, and your hair texture. Doing some of the prep we mentioned earlier can make your appointment go by a little faster.
Does it hurt to get box braids?
Getting box braids may feel a little uncomfortable if you have a sensitive scalp. However, you shouldn’t be in pain when they’re installing your braids. Speak up right away if the installation process hurts. Your braider should adjust the way they’re braiding. This will also give you a more comfortable look in the long run.
Toughing out your appointment may result in braids that are too tight, which may cause traction alopecia. Although there are ways to loosen braids, it’s easier and healthier for your hair to get them loosened during the installation process. You can also ask your braider about the differences between knotless and box braids to see if knotless might be better for you.
If your current braider refuses to adjust their methods, find another one. You can also check out reviews and ask your braider for examples of their work before your appointment. This gives you a chance to confirm their expertise and make sure you’re confident in them before your appointment.
How long do box braids last?
Box braids last about four to six weeks if you care for them well. Other factors like the size of your braids, your natural hair texture, and the length determine how long they’ll last.
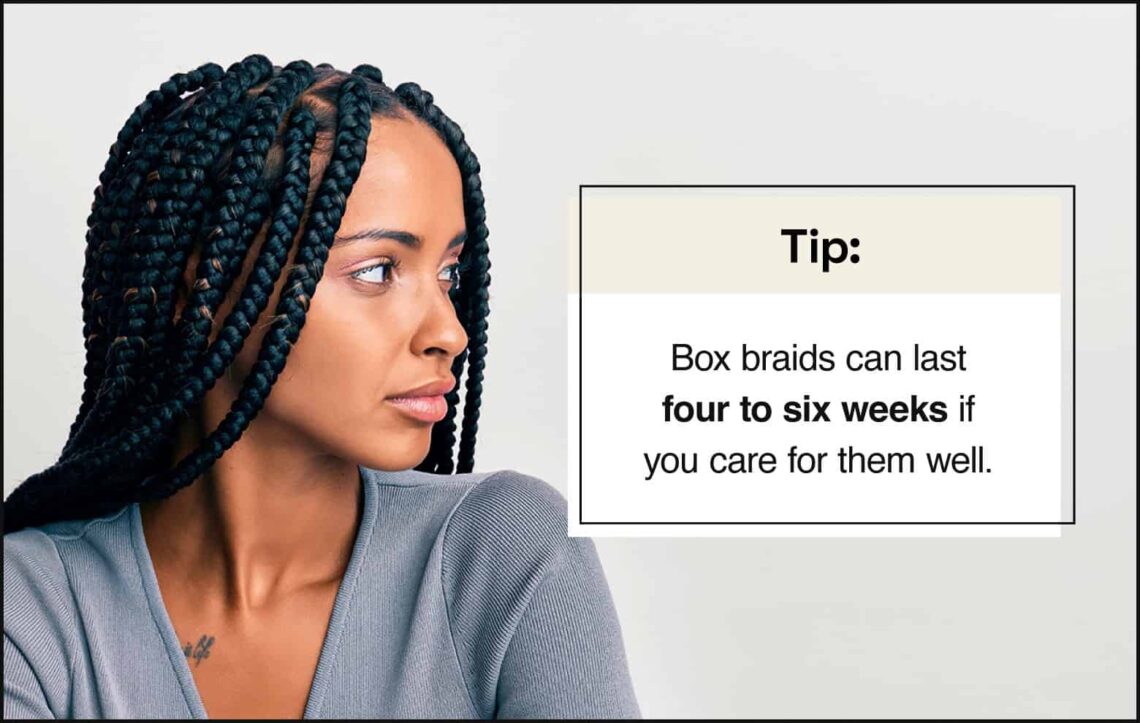
You shouldn’t keep them past that time since you’ll put too much tension on your hair. Give your hair a break in between braids and other tight styles — this also gives you a chance to cleanse and deep condition your hair after it’s been up for so long.
How can I care for my box braids?
You can care for your box braids by regularly washing, moisturizing, and drying them. Seeing your braider for touch-ups, avoiding tight styles, and protecting your hair while you sleep can also help keep your braids smooth and healthy.
Taking care of your braids will help them last a long time, stay smooth and clean, and ensure your natural hair and scalp are clean and healthy. It also helps prevent things like breakage or matting. Here are a few ways you can care for your box braids:
- Regularly wash your braids, scalp, and natural hair to remove product buildup along with dirt, debris, and dandruff.
- Condition and moisturize your braids, natural hair, and extensions to keep everything looking smooth and healthy.
- Allow your hair to dry completely to avoid mildew and mold growth.
- Don’t overdo it with hair products since they can weigh your hair down and attract dirt and debris.
- See your braider for touch-ups after a few weeks to protect your edges and keep your braids neat.
- Steer clear of restrictive styles like tight buns that add too much tension and stress on your scalp and hairline.
- Wrap your hair in a silk or satin head scarf at night to help your hair retain moisture and to prevent matted hair.
How much are box braids?
Box braid installation can cost anywhere from $140 to $900 depending on the size of your braids and the intricacy of your style. Your location and your stylist’s expertise also determine the final price. On top of the installation cost, you’ll also need to consider the price of the braiding hair itself. That price varies a lot depending on the type of hair you get, the style, and how much hair you need. For example, using virgin hair can get more longevity out of your style.
What size braids should I get?
Pick your braid size based on how long you want them to last and the types of styles you want to try when they’re installed. Jumbo braids last the least amount of time while microbraids last the longest.
Bigger braids work for short-term looks, like if you want to style your hair for a special occasion. Smaller braids are better if you want a long-term protective style and don’t plan on changing your braids or style after they’re installed.
In any case, tell your braider about your goals so they can help you decide what size works the best.
What’s the difference between box braids and other types of braids?
The main difference between box braids and other braids is the part and the way box braids are installed. For example, box braids have square parts and extensions are installed at the base of the braid.
Knotless braids, on the other hand, can have different types of parts. Extensions are fed into these types of braids to give a flatter, more natural look compared to box braids.
Cornrows can create many types of patterns and can be the base for other looks, like sew-in weaves. They’re braided to the scalp while box braids can hang away from the scalp.
Lemonade braids have many variations and are always braided to the side. You can get small to jumbo sized braids and can even change where your hair parts.
What are some popular box braid styles?
You can style your box braids in a bun, bob, with different sized braids, and even into another braided style. Check out some of these popular styles below for inspiration.
Bob
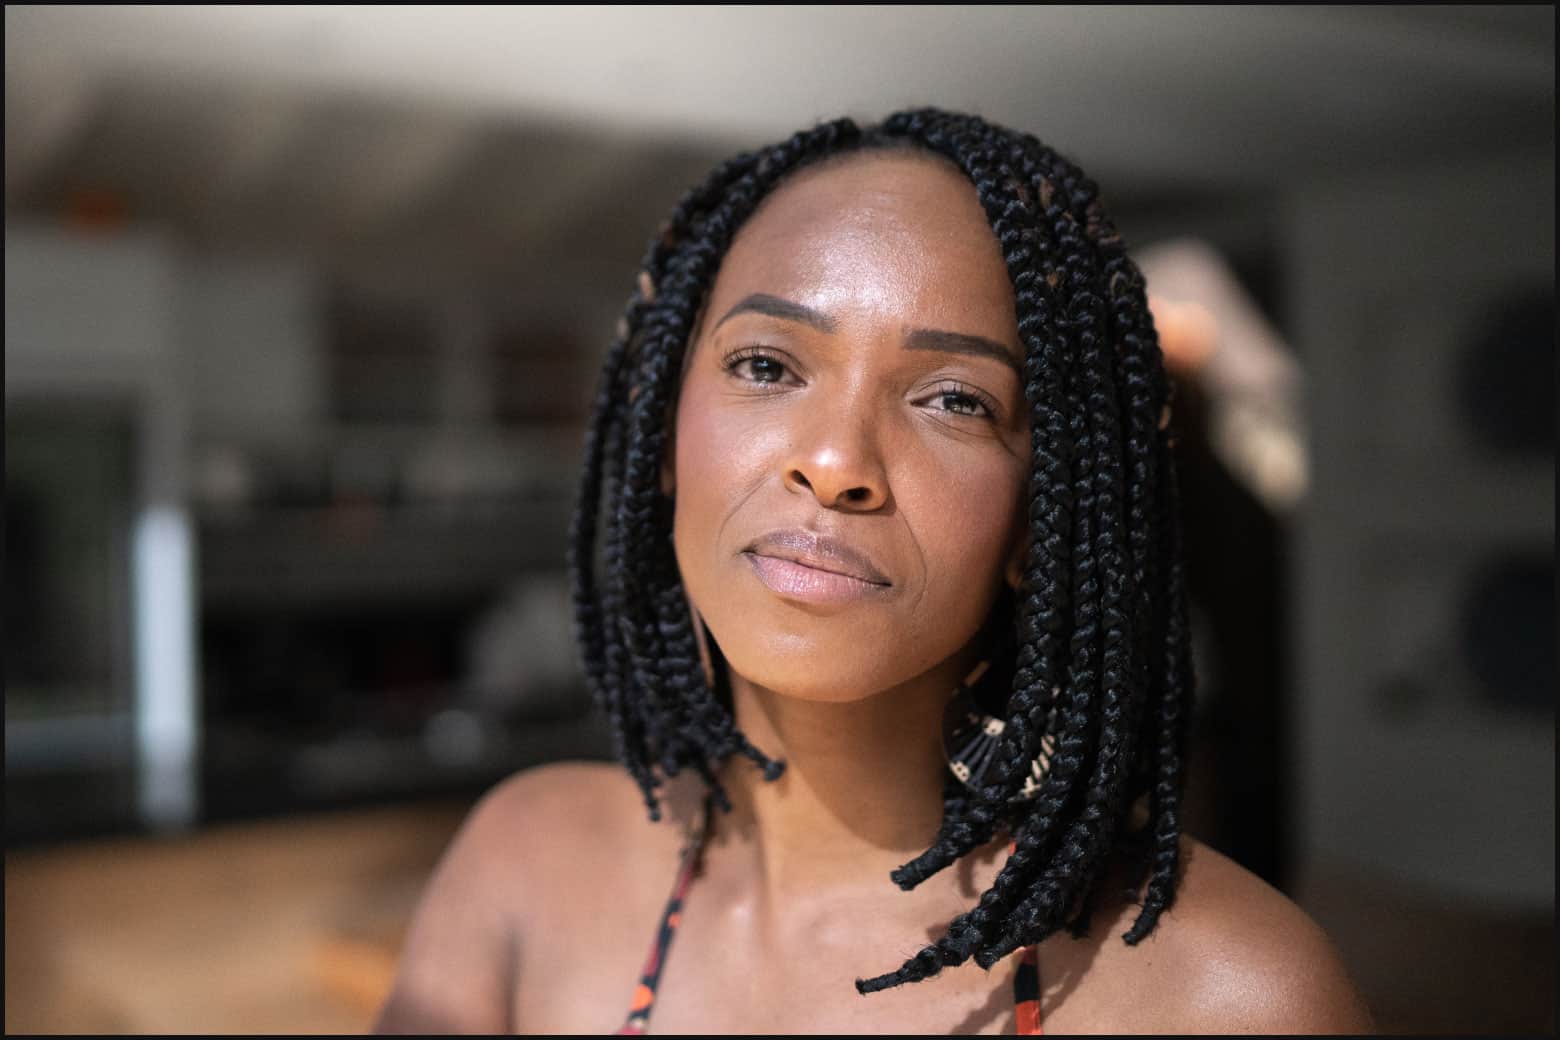
Many people like to get box braids to get more length, but box braids also look great when they’re worn short. They beautifully frame your face, are just as versatile as longer braids, and require much less time to install and wash. Ask your braider how much hair you’d need if you want a shorter look.
Jumbo
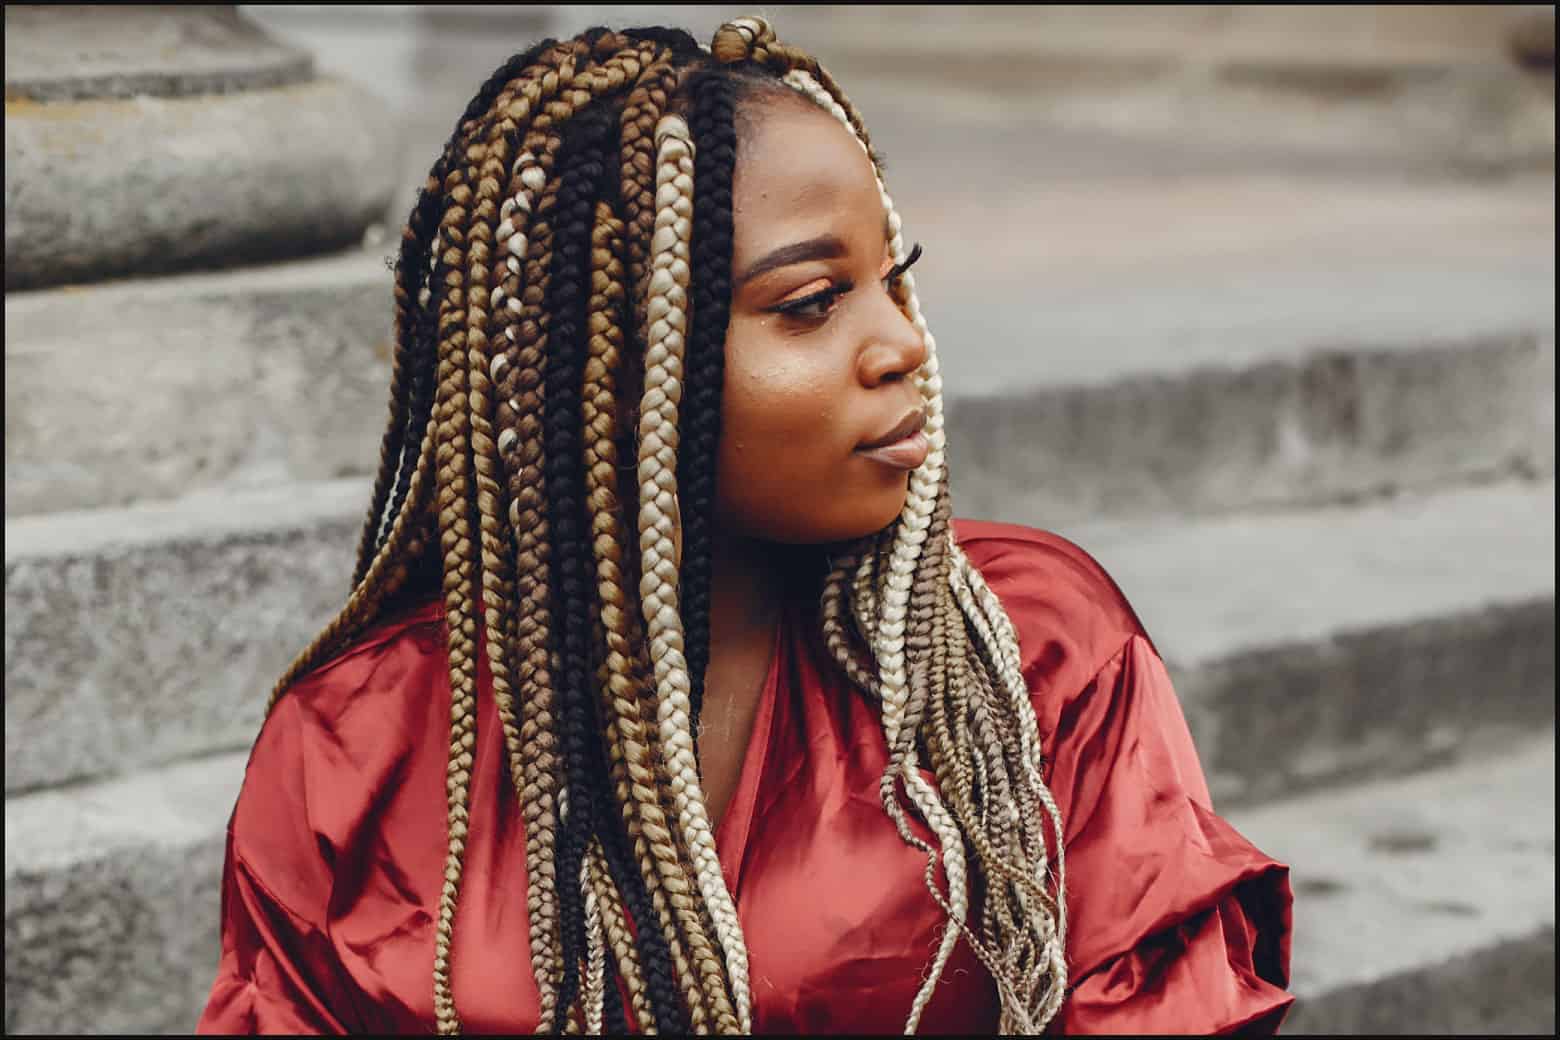
Bigger is better for some! Jumbo braids are lower maintenance than smaller braids and are bound to grab anyone’s attention. Pair this size with some length to make your braids more versatile. Cuffs and color also look great with jumbo braids.
Braided box braids
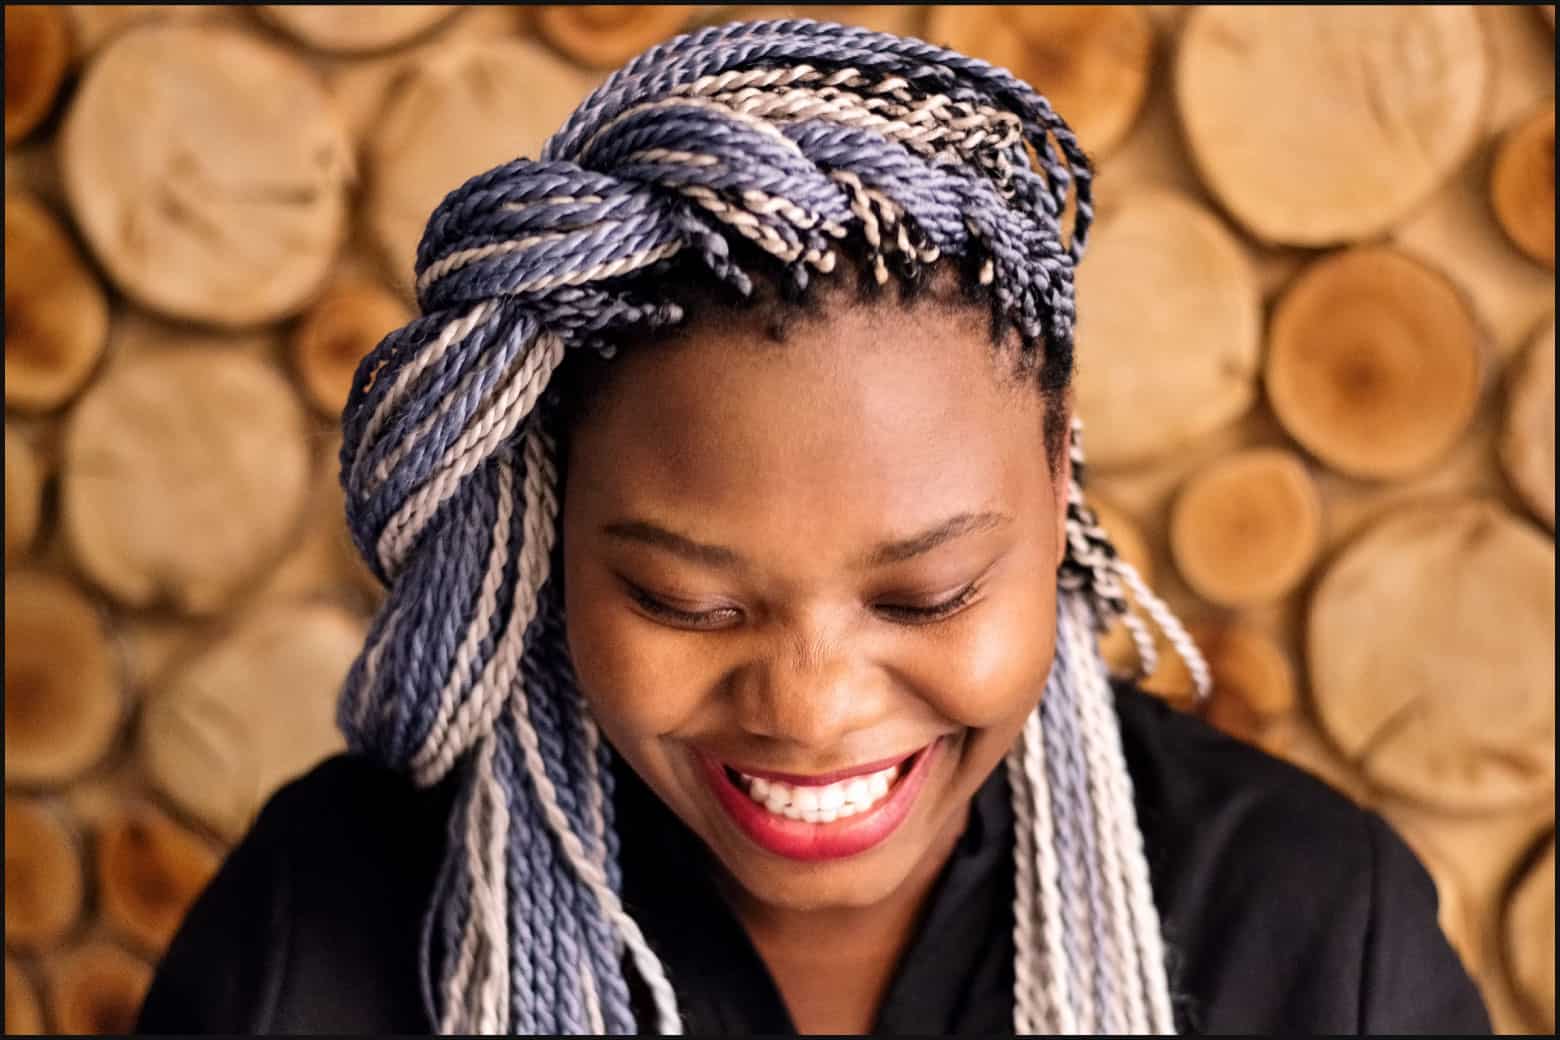
Not sure how to style your braids? Try pulling them together for other braids! You can create a chunky crown or French braid by pulling together a few main strands.
High ponytail
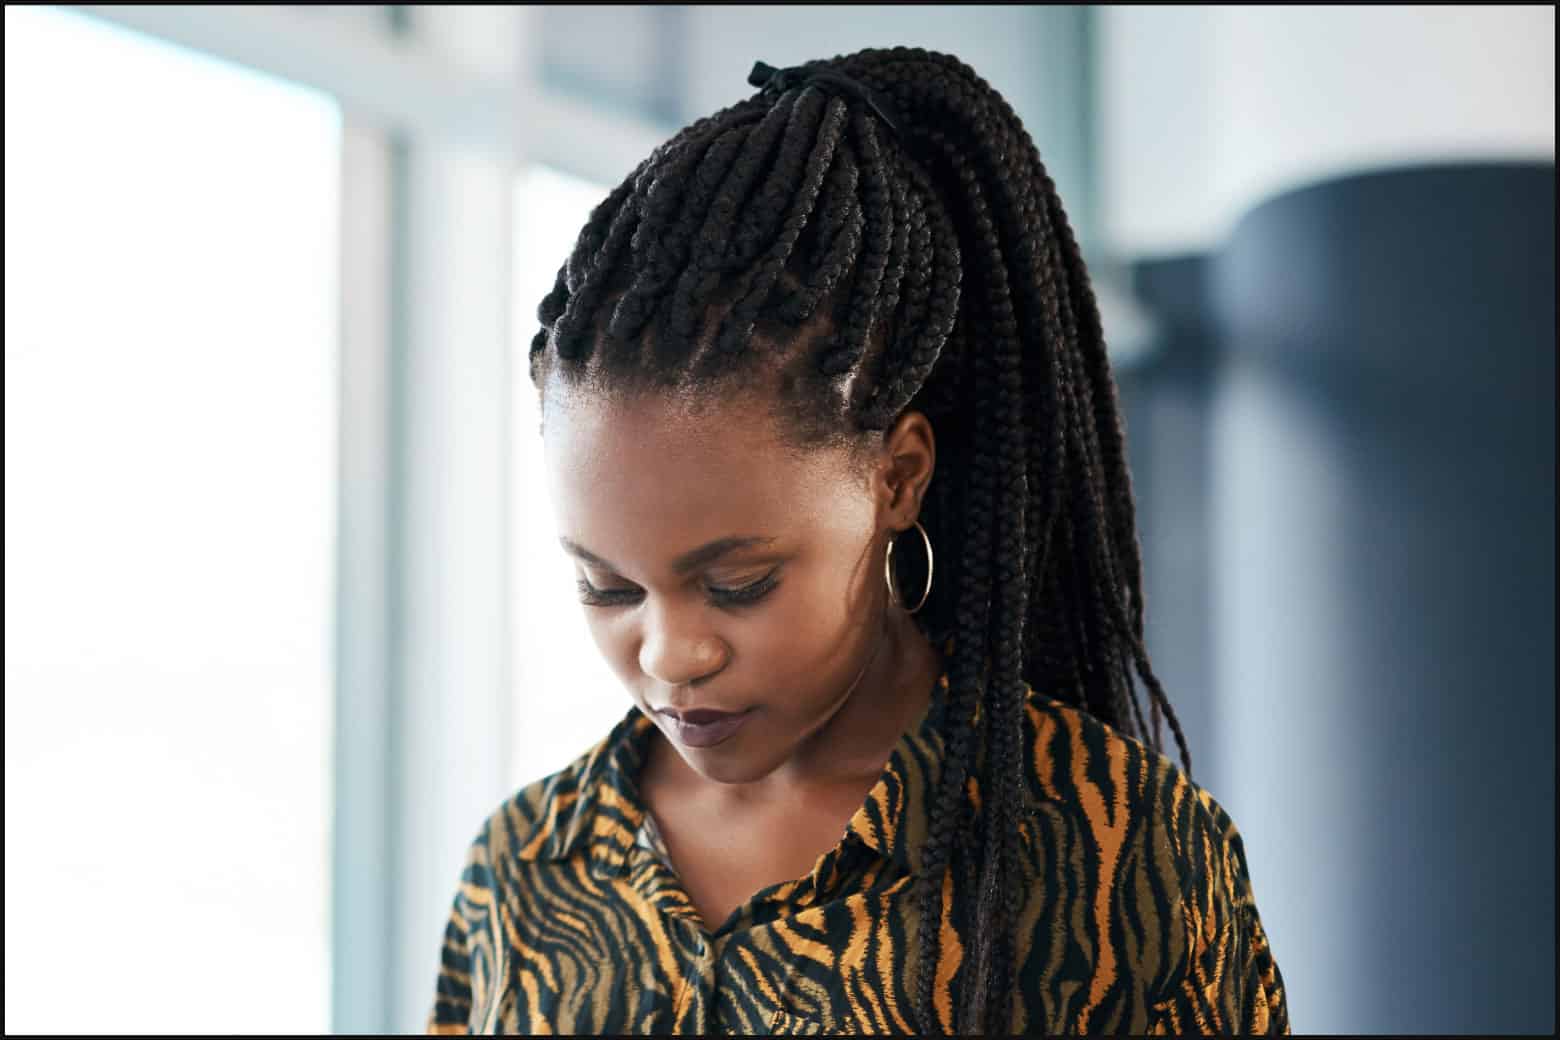
Nothing is easier to pull off or more chic than a high ponytail. What better way to keep your hair out of your face while showing off your length? You can vary this look even more by positioning your ponytail differently on your head. Keep it centered so your hair drapes over your shoulders, or position it off to one side for a high side ponytail.
Small box braids
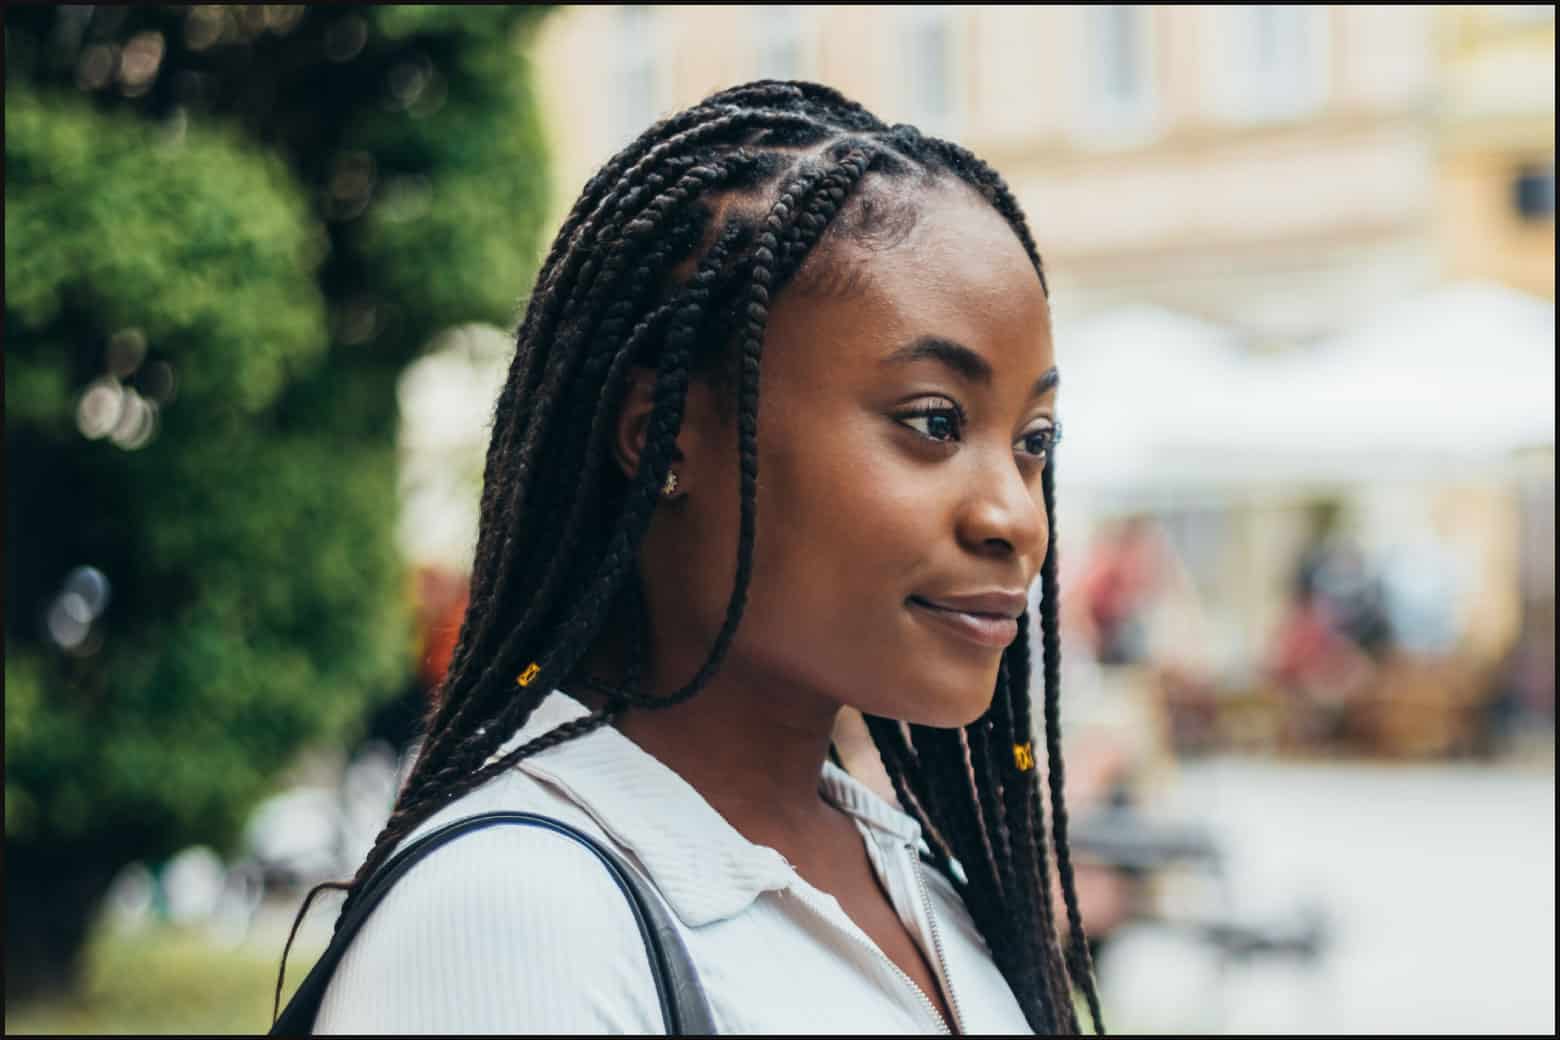
Small braids are the way to go if you want to try out more intricate styles while you have them installed. Updos like top knots look classy with smaller braids. Smaller braids also last longer than big ones.
Colored box braids
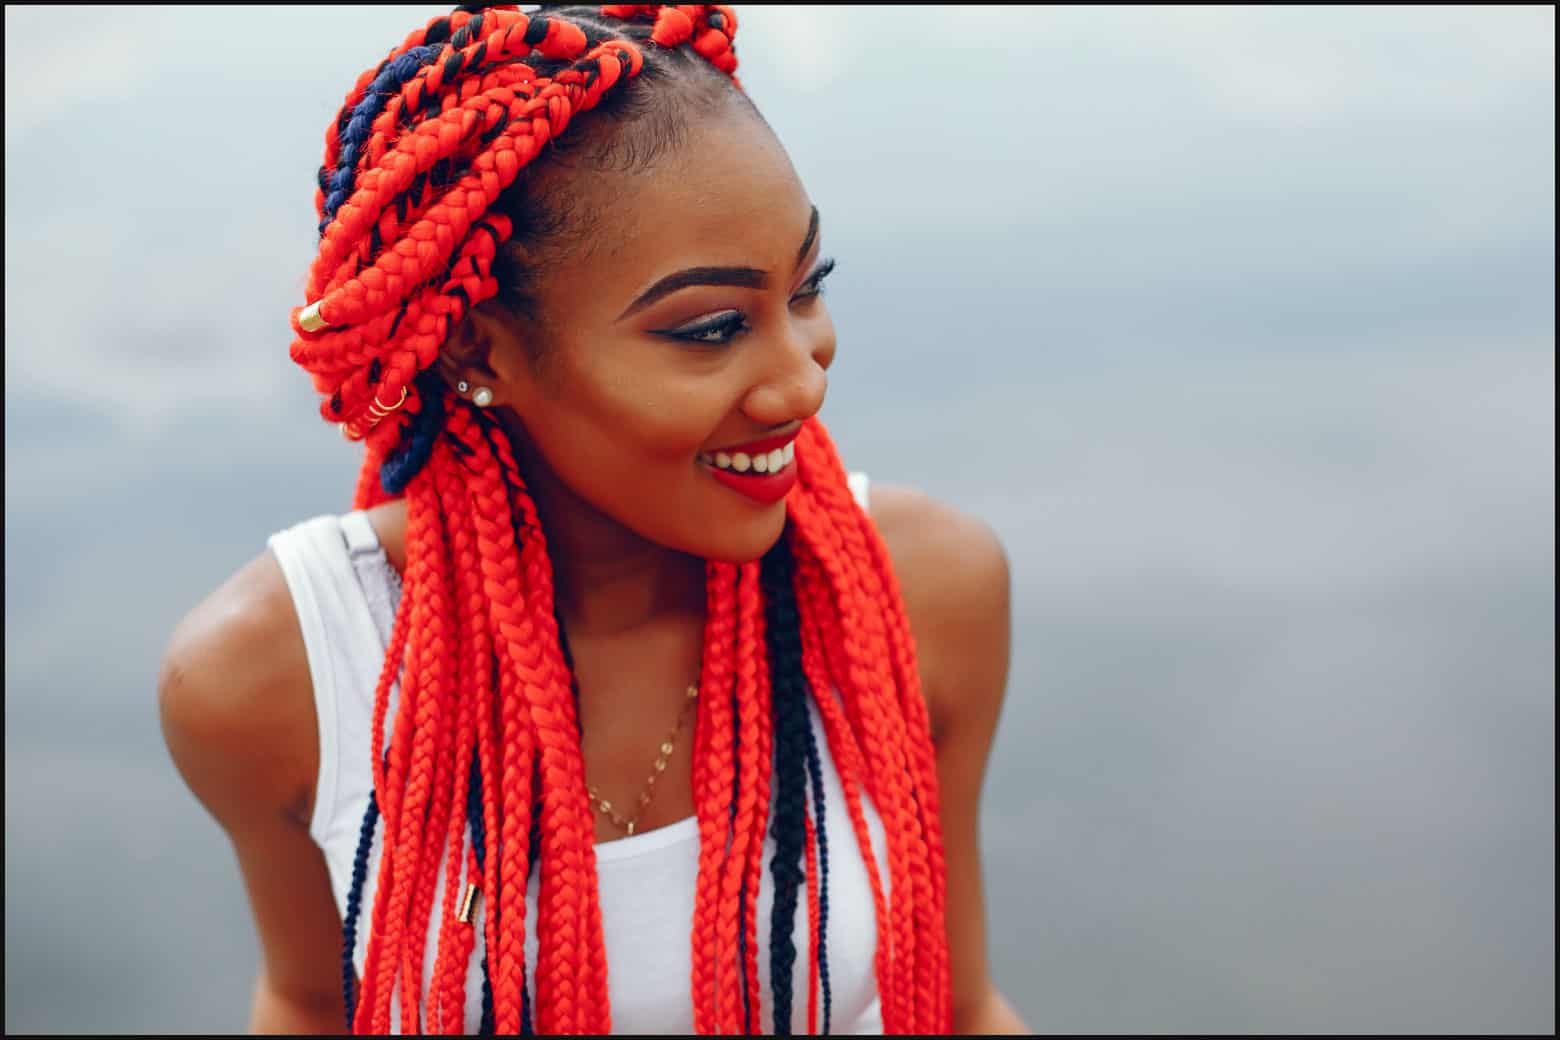
There’s no need to stick with just one color when you get box braids. Natural hair colors like brown and blonde can give you a subtle splash of color. Looking to stand out? Go for bold reds or purples.
Box braids with accessories
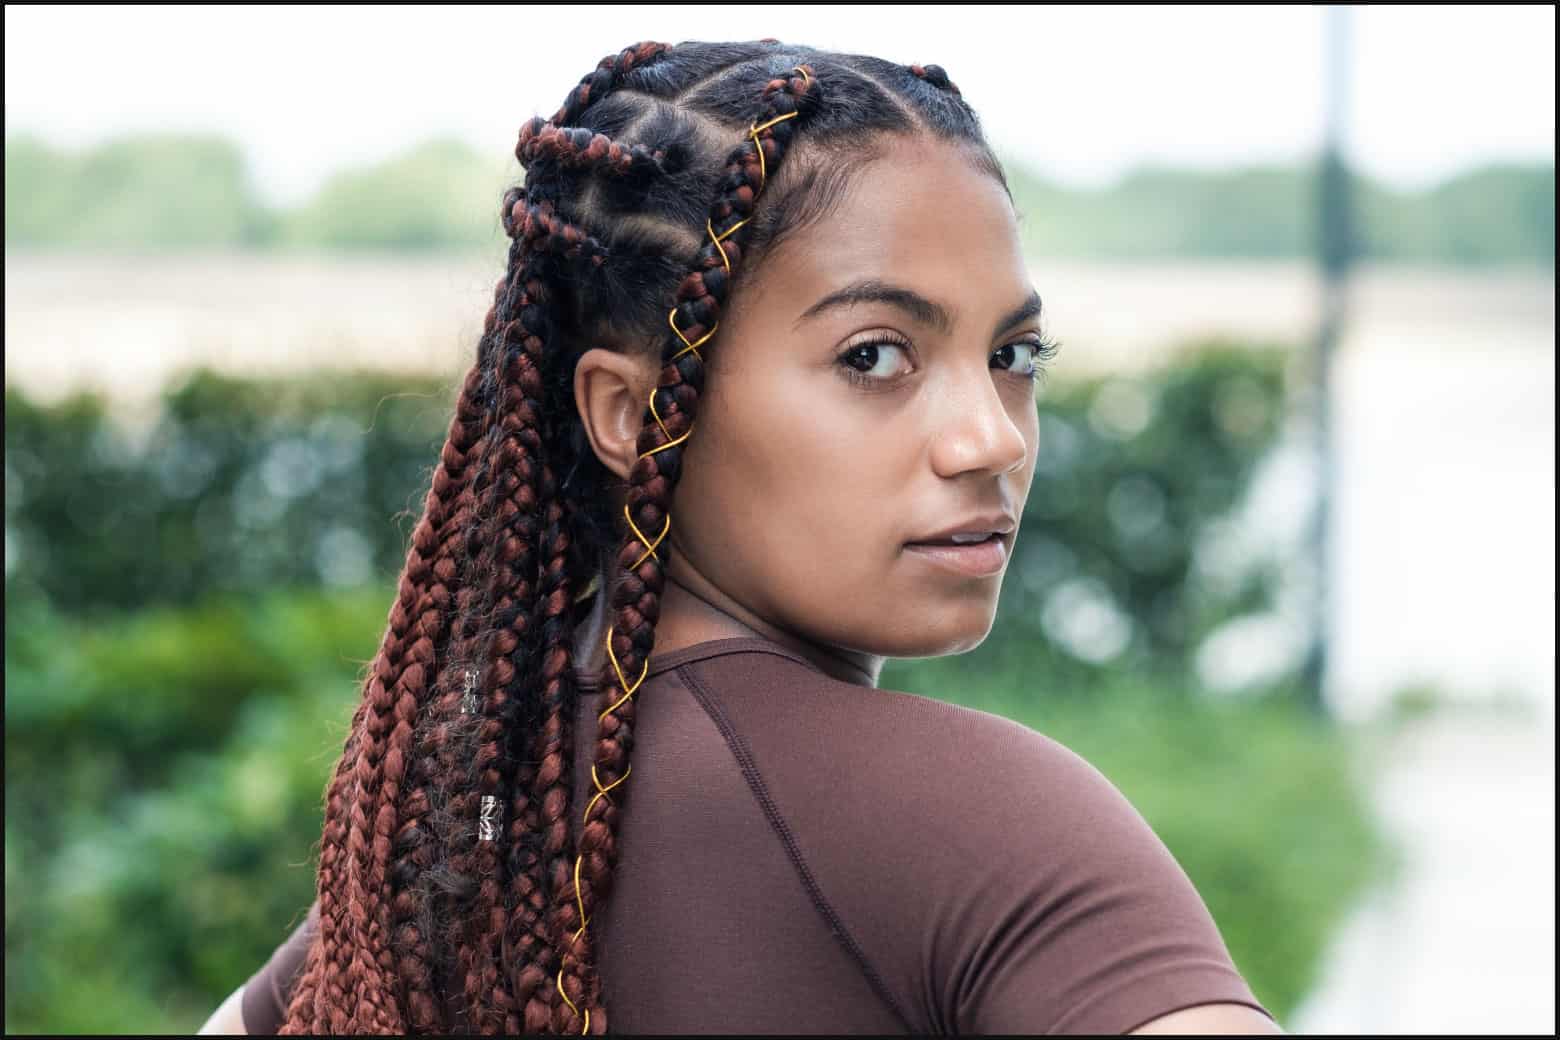
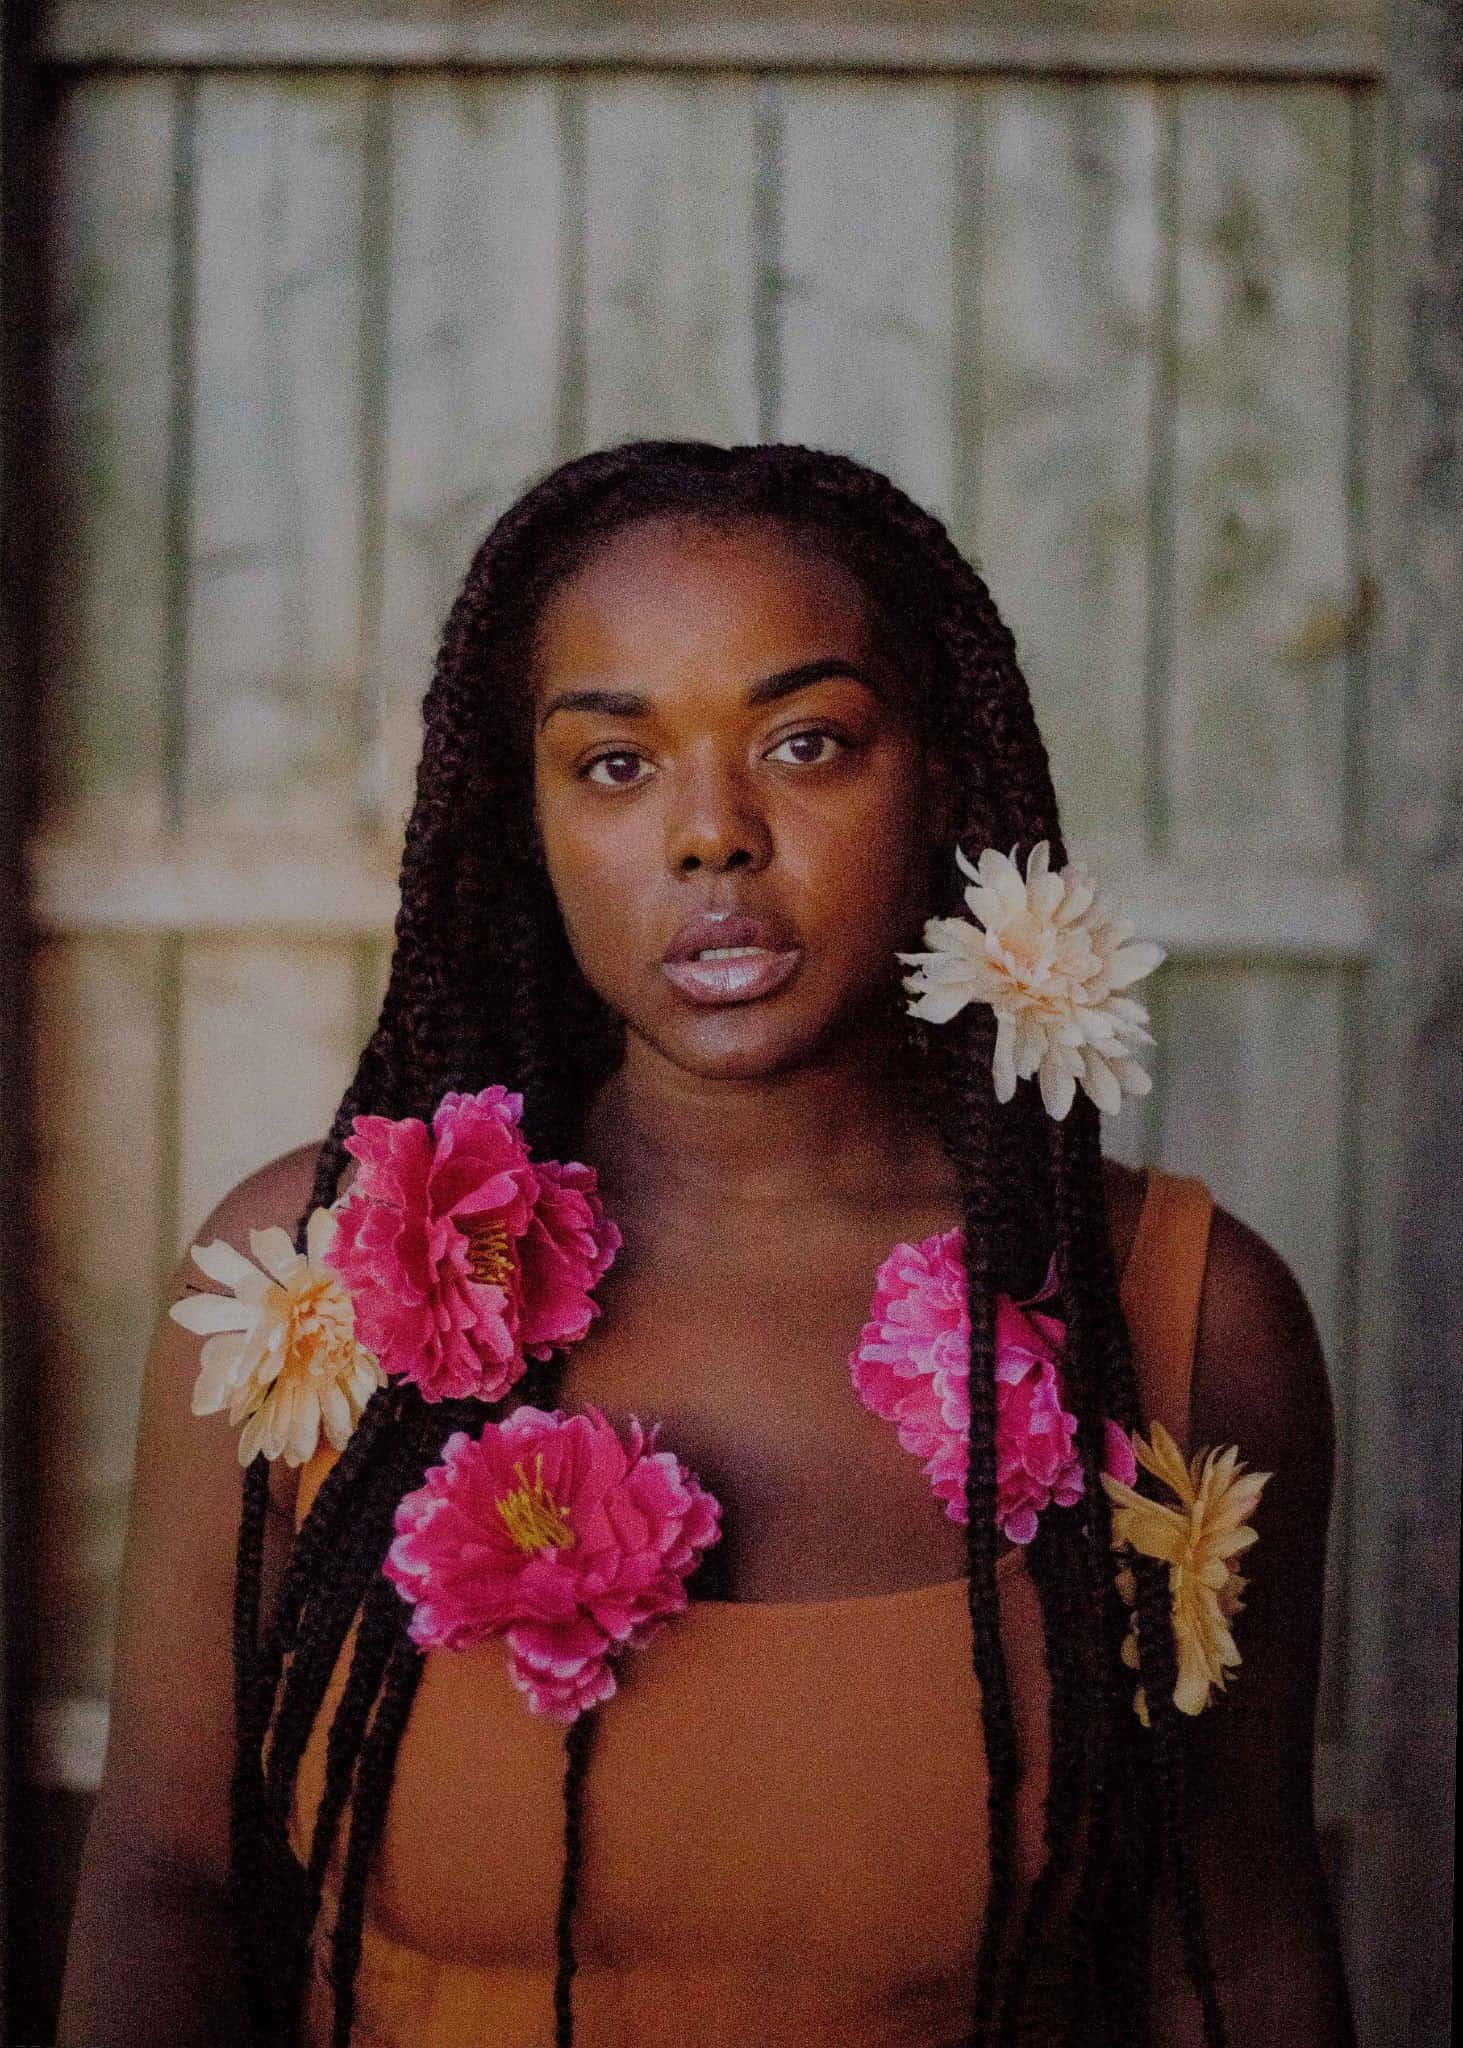
Cuffs, beads, rubber bands, and pearls are just a few ways you can accessorize your braids. Working in a few accents to your hair adds some personality to your braids and makes your look your own.
Top knot
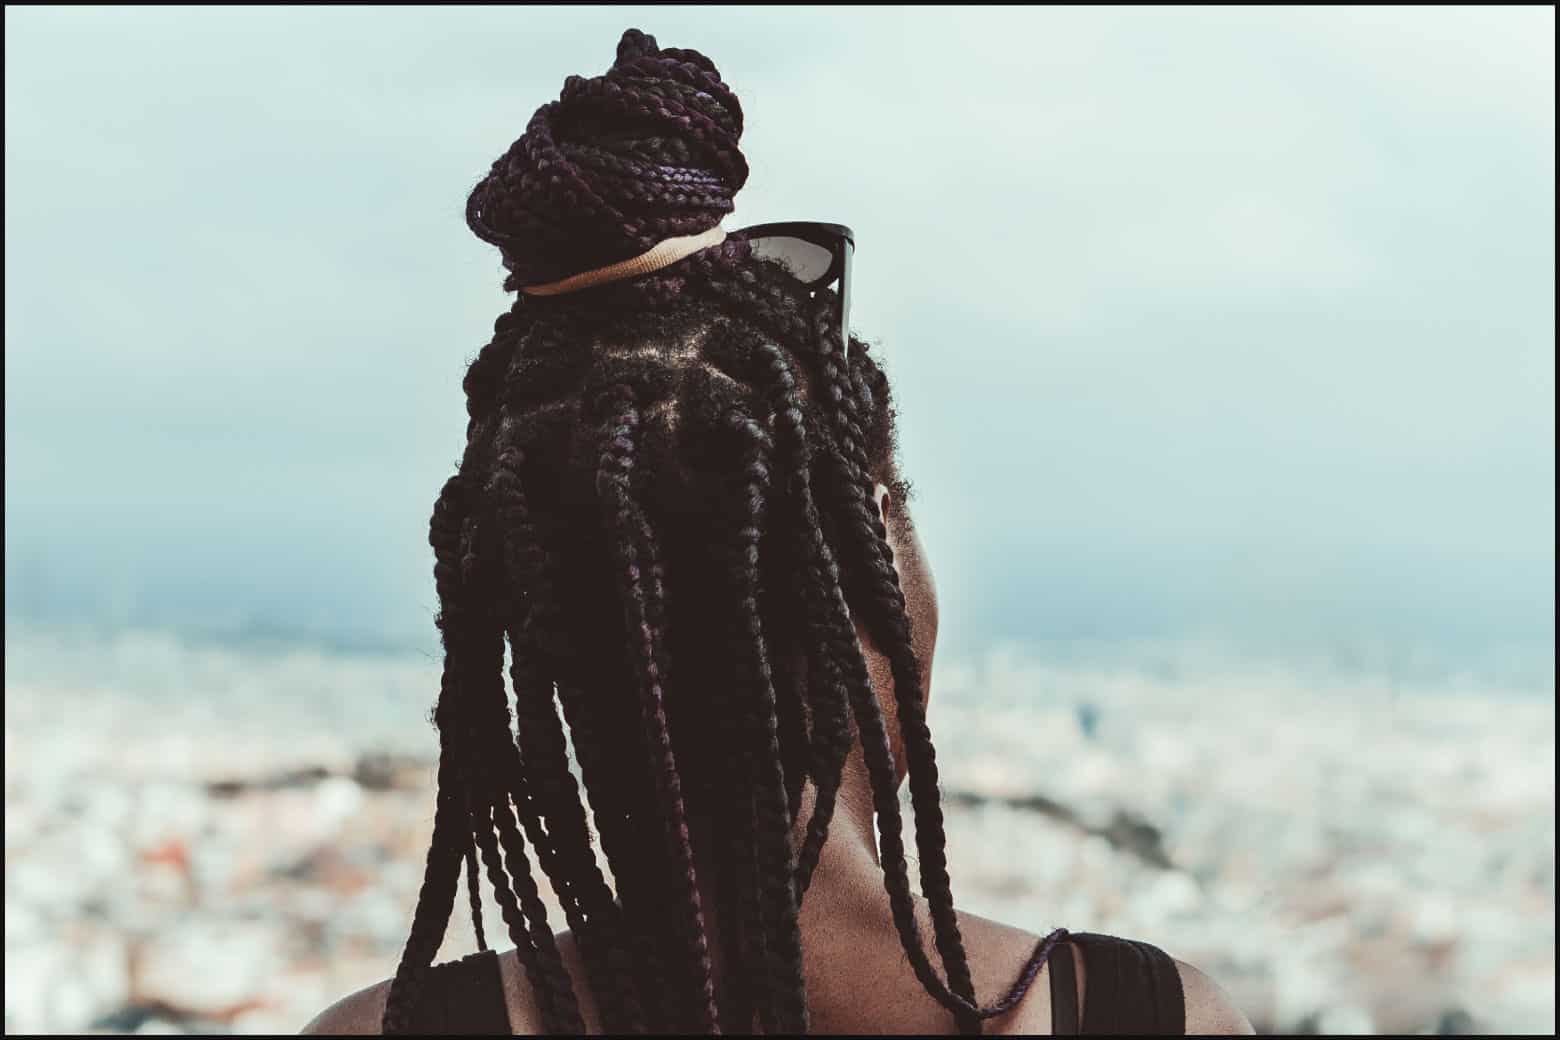
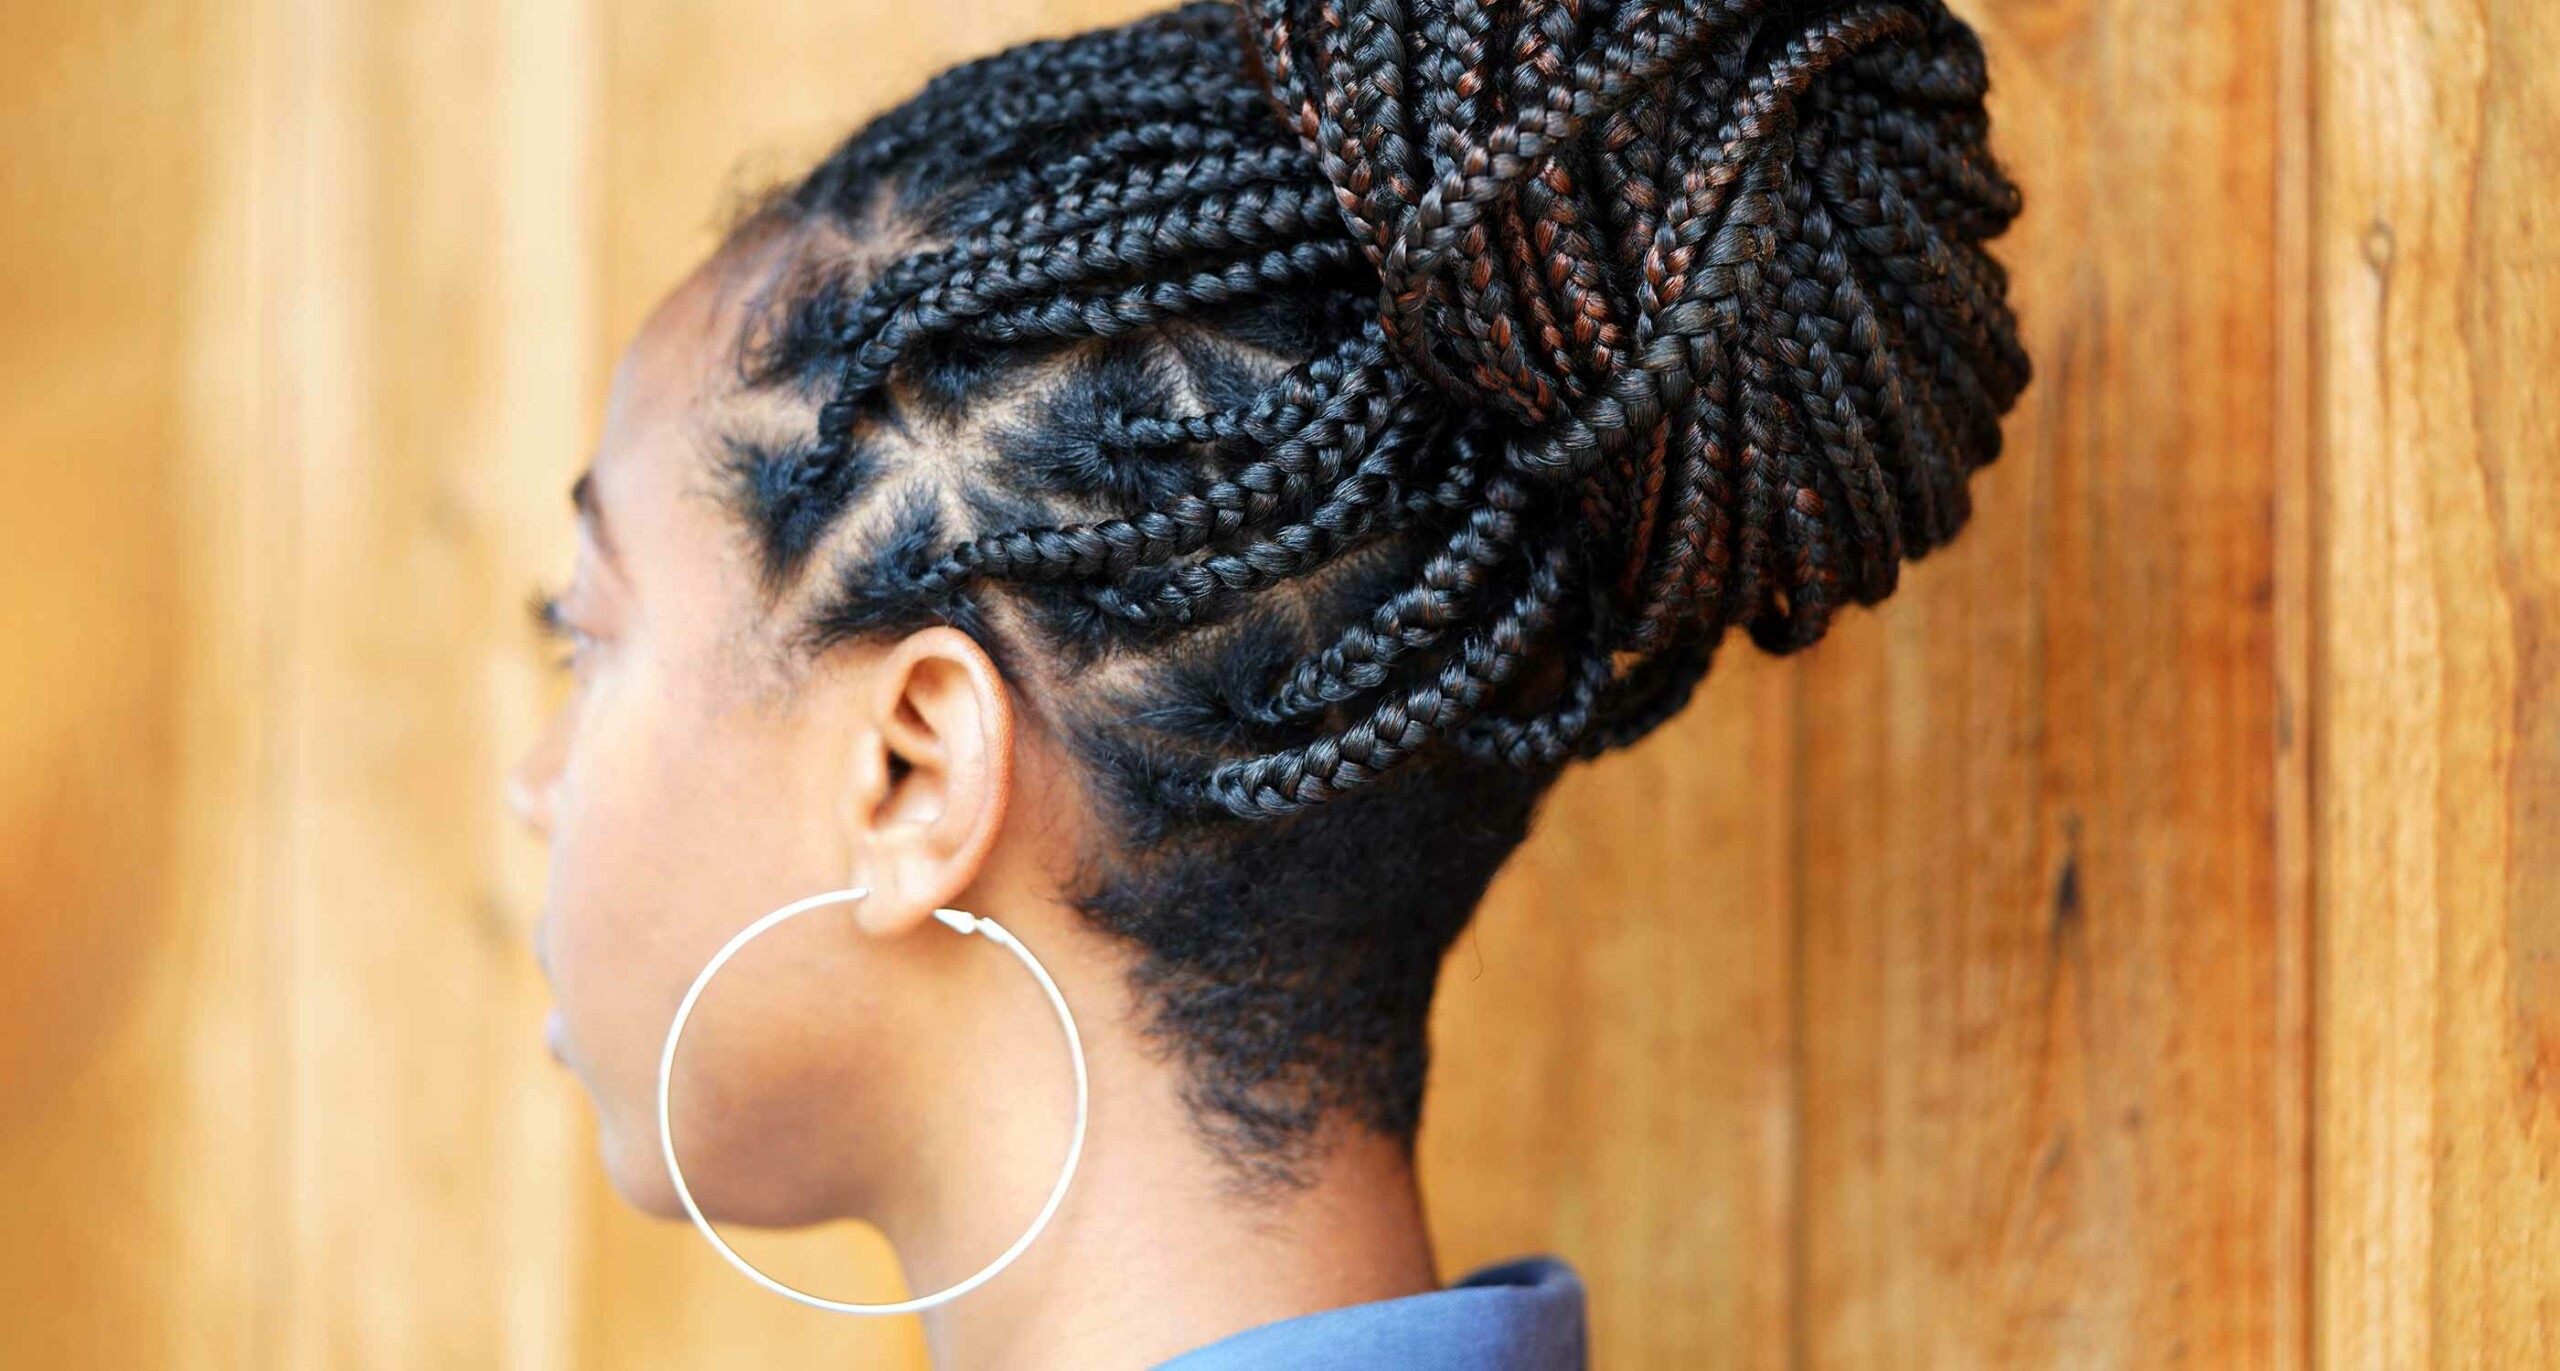
Top knots are great if you’re running errands or if you’re getting ready for a night out. Colored braids or intricate parts will shine with this style. The bigger and longer your braids are, the bigger your top knot will be.
Box braids are one of the most popular protective styles for good reason. They’re versatile, long-lasting, and easy to customize. You should prioritize finding a reliable braider since you’ll have these braids in for at least a month. Experience is also key for making the long installation appointment as painless as possible. Check out our community of braiders to find someone near you.
